Tag Archives: Kitchen Remodel

Kitchen Remodeling IV

Well, the counter top people came and installed counter tops in the kitchen and bathroom. The bathroom is also getting a face lift but not as major as the kitchen. New counter top (keeping vanity), sink, faucet, shower faucet set, re glazing the tub, new linoleum floor, adding a wainscot of rustic wood and seashore items for a nautical theme.

After the counter top people left, I was anxious to install the new sinks. I was up all night worrying about it because I just knew that the old drains wouldn’t line up. I was right no matter what position I put the sinks and their drain “traps” it couldn’t line up with the old 1962 plumbing. I tried removing the old tail pipe from the wall (in the bathroom) but it was rusted frozen. I tried Jerry-rigging the pipe but the old chrome pipes and washers were shot, and I cracked the tail pipe.

I gave in and called a plumber. Best thing I ever did, he totally replaced the drains, and inlets, under both sinks with modern valves and pipes. Now their set for another 40 years! Plus he hooked up and set the bathroom sink. Cheryl was highly upset with the mess the plumber made, gunk and caulking all over her new counter top and sink and faucet in the bathroom, so we installed and set the kitchen sink our selves, and the plumber hooked up the drains (not lining up there either)

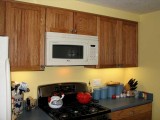
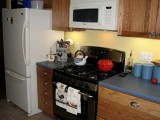
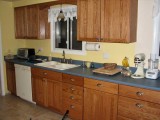
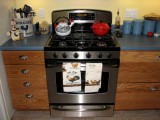
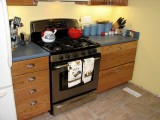
After the stove and dishwasher were installed it is finally finished. Only a few trim pieces and an over head light remain. Here are a few pics of the finished kitchen…


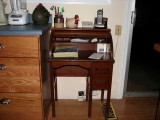
We were looking for some sort of antique we could use for a phone stand or desk. I spotted this beauty, a kids role-top desk in great condition!


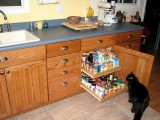
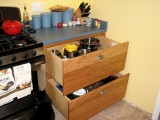
Kitty is checking out the new back savers. Drawers for pots and pans, and our canned goods.
 

Kitchen Remodeling III

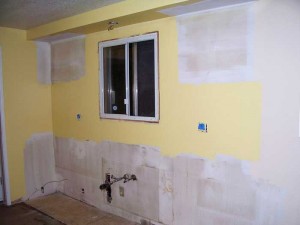
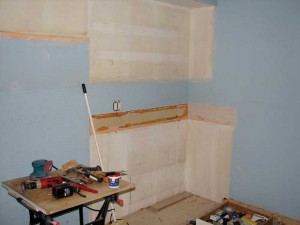
Now that the old cabinets have been completely removed, we did some patching and spackling of the sheet rock. I am comfortable with spackle, even filling quite large areas (where the old back splash tore the facing of the sheet rock away) is no problem with my trusty “5-in-1” painters tool but patching the sheet rock with tape and mud was new and a little intimidating to me at first. Good thing that all the areas that we patched will be hidden either by cabinets or the tile back splash we will put in. I first used self sticking mesh type sheet rock tape, covering holes too big for spackle. Then you put a thin layer of sheet rock (s/r) mud over the mesh tape pressing it in to just fill in the mesh. Let that dry over night and sand smooth. (I didn’t use it but there is also a fast or “hot” mud that dries in 20, 45 and 90 minutes if you like.)

Then you put another thin layer over the patch, this time wider and feathering the edges, making sure to not allow any of the tape to show. Wait over night and sand again, trying not to expose the mesh like tape underneath this time. Now for the final coat of mud, this time using an even wider “knife” and feathering the edges of the mud thinner so when it is sanded and painted it won’t show.


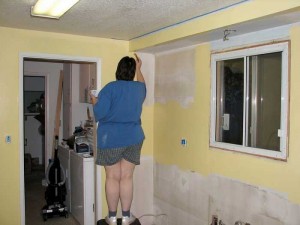
Before the new cabinets were installed, we thought it would be a good idea to paint the areas that would show first, avoiding a possible mess taping and painting the brand new cabinets. Boy are we glad we did! The installers only scuffed a tiny 1 inch area that had to be touched-up after they were through. We also wanted new moulding around the windows and door going into the laundry area, and so I removed the moulding above the sink window before they installed the cabinets so I didn’t risk whacking and scratching the new cabinets with my pry bar. The other moulding will be swapped out later, as it isn’t near the cabinets.


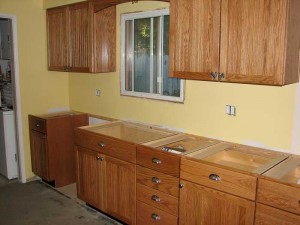
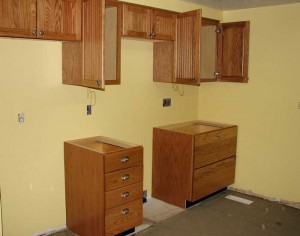
Here are the new cabinets just after being installed.


After the cabinets were installed, the electrician came and finished installing the under cabinet lighting, replacing the outlet cover plates, and the county inspector was already by to approve it all. And the counter top people were by to do their final measurements and should be ready to install next week. It was very reminiscent of the movie “Money Pit” (Tom Hanks, Shelly Long) here yesterday with different people coming in and out.

I have now competed putting on the new moulding around the sink window, installing the new microwave oven-hood above the stove area, and installed a new light over the sink. My wife put her new curtains over the competed sink window and she says it is shaping up very nicely!

Kitchen Remodeling II

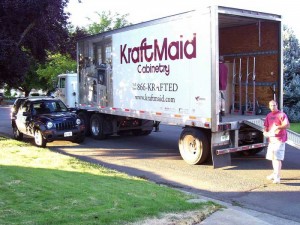
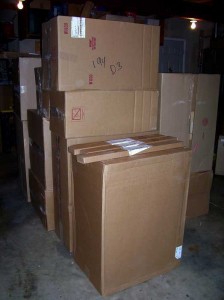
Well the cabinets arrived today! Tomorrow the installer will give them a look over for damage, if they are correct etc. They were a day early in getting here so that gives us plenty of time to tear out the old cabinets and prep. The electrician is coming Monday to move a few outlets around, add some new switches and such for the under cabinet lighting etc. A plumber is coming Wednesday to install a gas line for the new stove.

After they were unloaded, the installer came over the next day to check them out for damage. Everything is good to go, just one little minor thing to be replaced (a drawer front that screws on) that won’t hinder installation.


And so begins the tear out. These are old built-in cabinets, and the fellow who built them left a note scribed to one of the boards in the upper cabinet for posterity. It reads “Cabinets built by Sam Hollander, Sept 11 1962. Wages $4.00 per hour, My age is 35″…

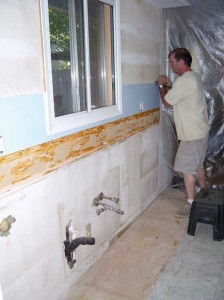
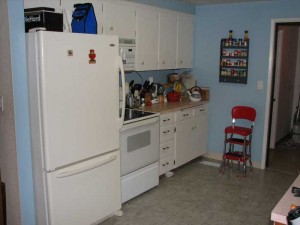
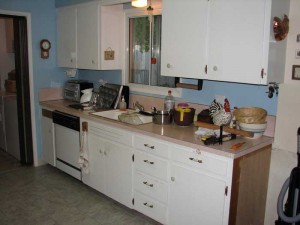
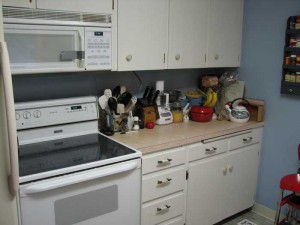
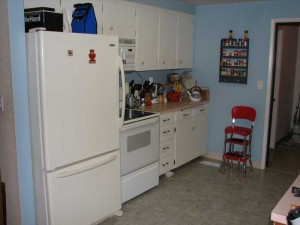
These are “Before” shots”


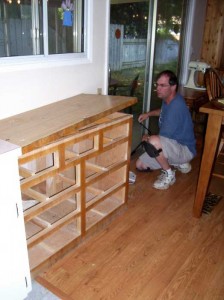
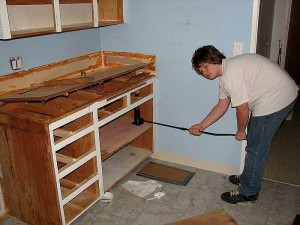
The counter tops are glued down and nailed so my son and I are using a car jack from my Jeep to slowly “pry” up the tops. Normally you would just use a sledge hammer and not care, but I am practicing on these to eventually remove the bathroom counter top with out damaging the cabinets because in the bathroom we are keeping the 8ft. cabinet and just replacing the counter top.


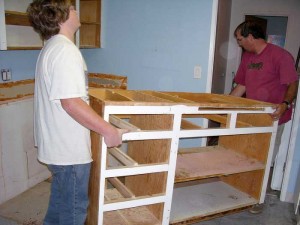
First getting out the base cabinets seemed to be the right thing to do, and not having to bend over to get the top cabinets out. The base cabinet came out in one piece, the upper cabinets had to be dismantled to remove them. After all has been removed, I did some sanding and spackling. So much for day one.


Kitchen Remodeling I

My wife and I are currently planning a kitchen (and bathroom) remodel. We have been to Lowe’s for the cabinets and (believe it or not) got a pretty good deal. We are choosing the KraftMaid brand. They seem to be well built, stylish good selection of accessories.


I have been toiling over the idea of installing them myself. Our kitchen isn’t large just a 10×10 square with the cabinets running down the two sides.

Our existing layout has the stove right next to the refrigerator YUK! I have always hated that. Now there is a nice “Island” between the stove and refrigerator. We are also getting new appliances, refrigerator, over the stove microwave/hood, and I got to pick out a new stove/oven.

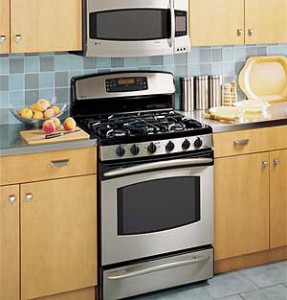
I have wanted a gas stove for a long time, after having one in my “first” apartment years ago (26 years), I liked the way the heat was instant on and better yet, instant off or down if something is scorching, and better control of the heat in general. We have been watching Food Network a lot lately and 98% of the chefs use gas stoves.

Cheryl “get’s” a new refrigerator. She hates my old “side-by-side”. We are getting one of those kind with the freezer on the bottom so you don’t have to bend over as much. We are also getting a newer microwave/hood as the old one has the handle duct taped to it.

The main feature of the new cabinets I have always wanted is slide out drawers for the food cupboard and a special heavy duty drawers for the pots and pans. No more climbing on the floor to reach a frying pan deep in the cupboard.