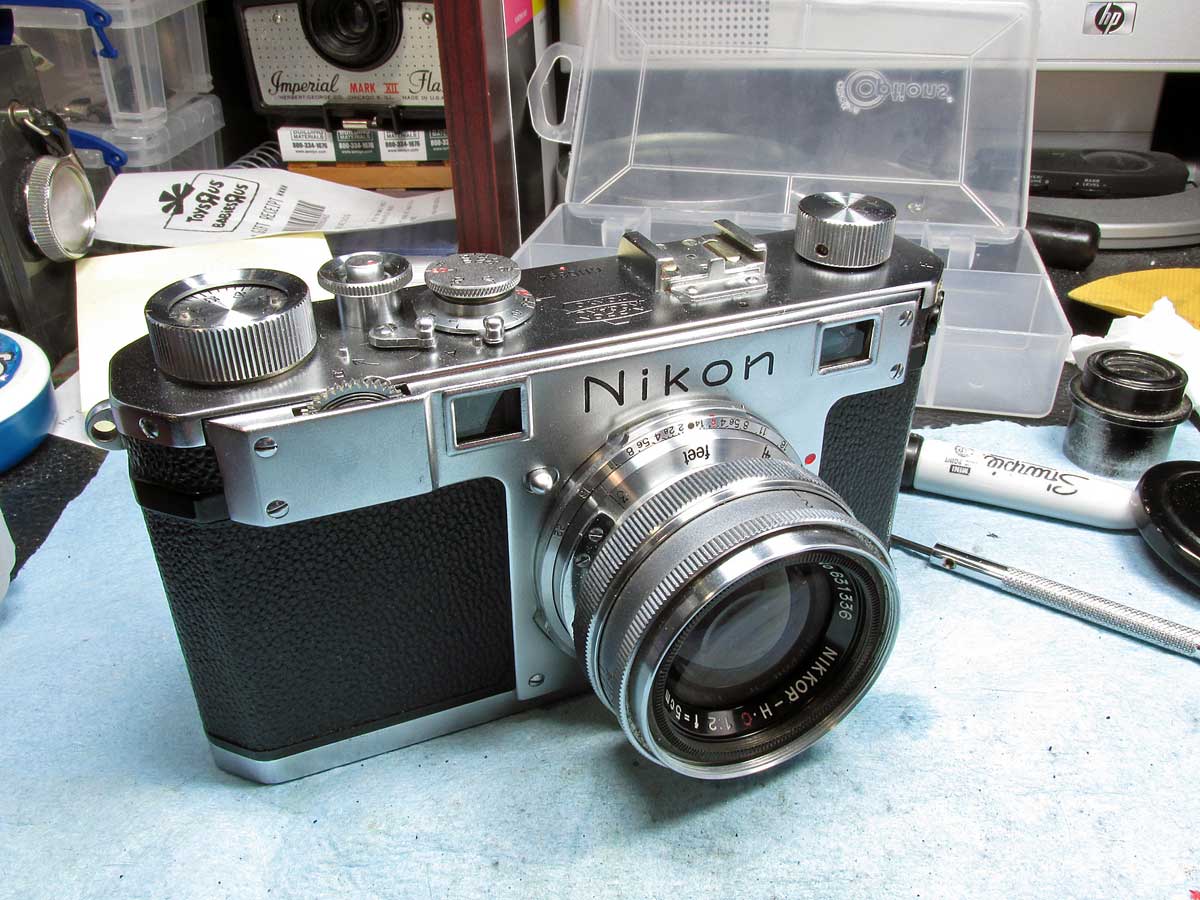
Here are the simple steps to clean a 1951 Nikon S Rangefinder camera. I’ve read that the Nikon One and Nikon M are similar except for the Accessory shoe does not need to be removed on the S. Also the film advance knob does not need to be removed, but for cleaning, simple loosen the set screw and unscrew the knob (ccw)
remove rewind knob-1
loosen but do not remove the set screw….
remove rewind knob-2
put something in the forks of the rewind rod and unscrew (ccw) the knob on top.
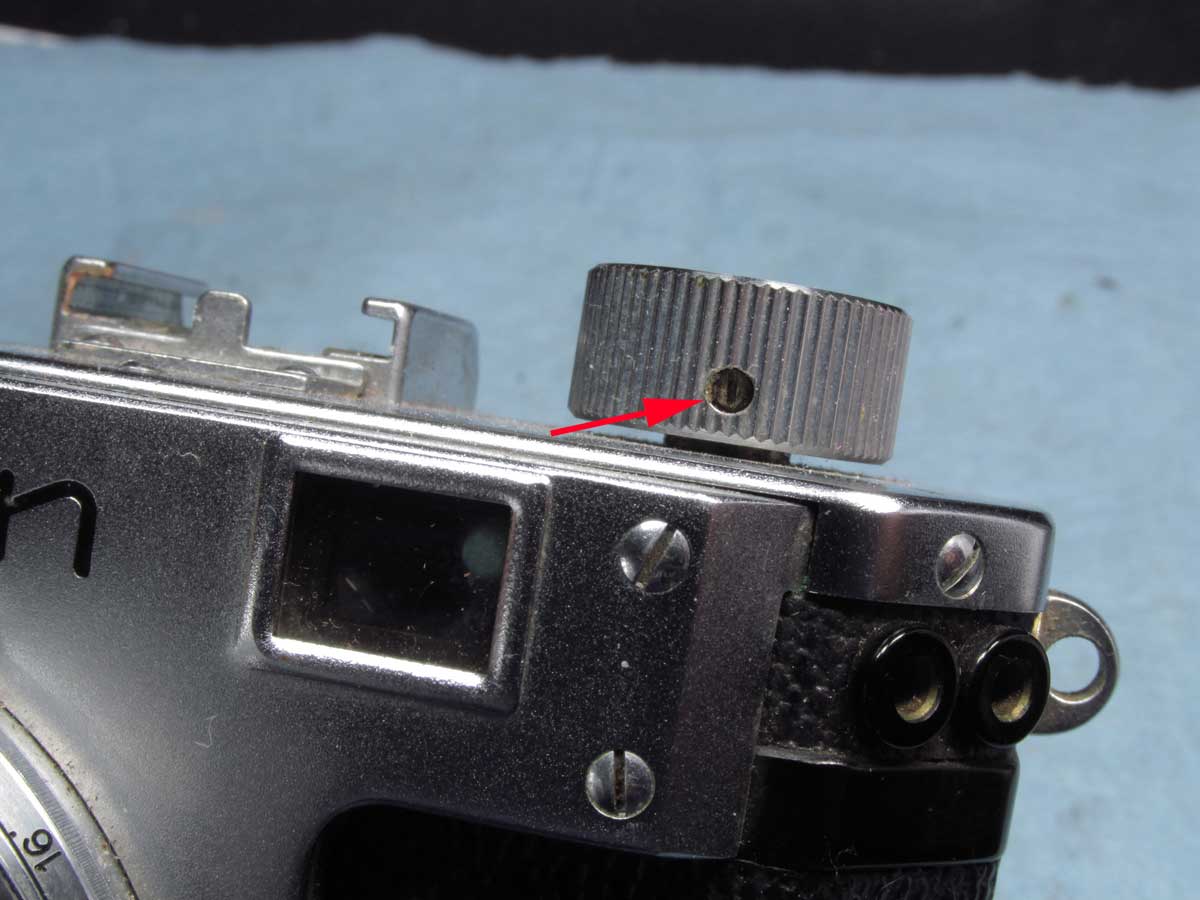
remove shutter button guard
unscrew guard (ccw) then with a gripper of some sort, unscrew the shutter button (ccw)
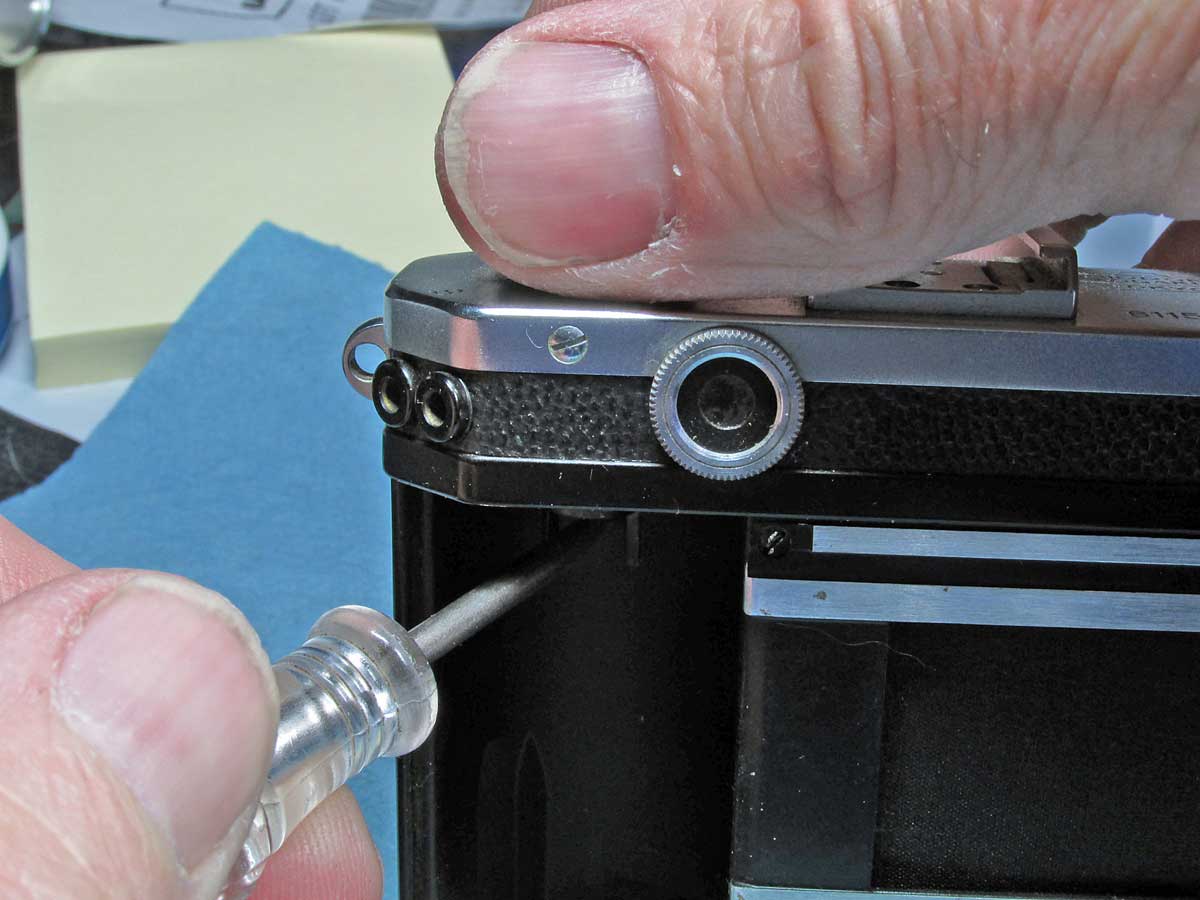
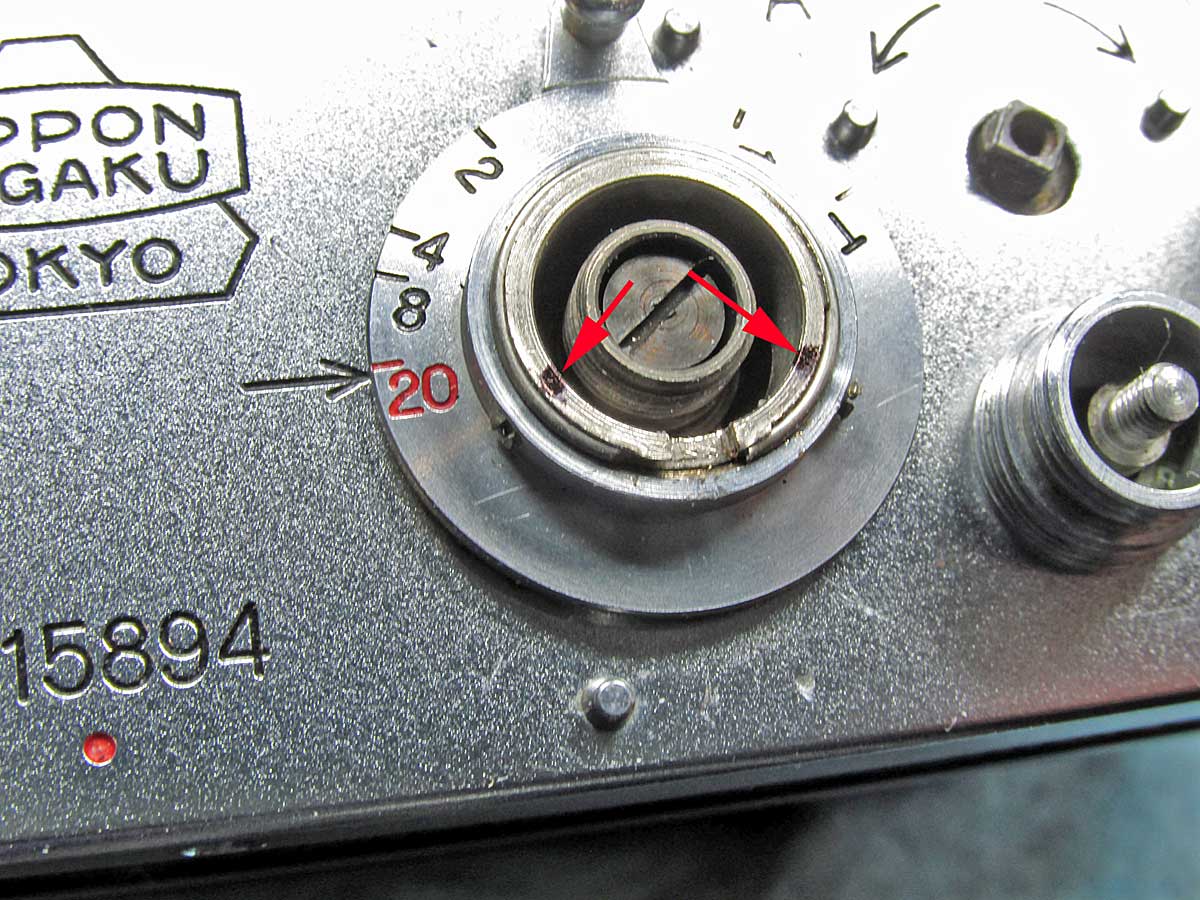
remove shutter speed dial
first set the slow speed dial to 1/20, then lift the shutter speed dial and turn it until you can see the set screw in the slot (looking from backside) loosen but DO NOT remove the set screw. unscrew the shutter speed dial (ccw).. I found it necessary to first advance the shutter.
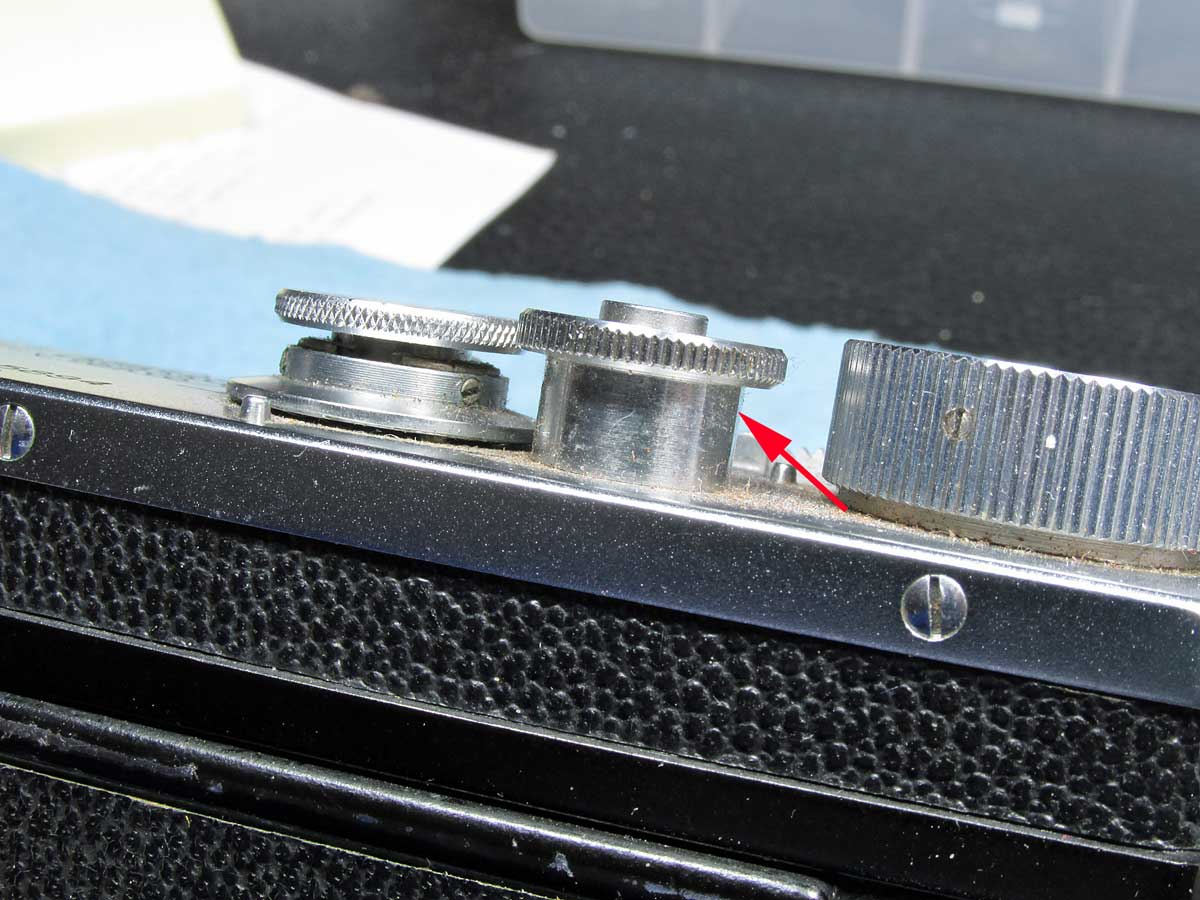
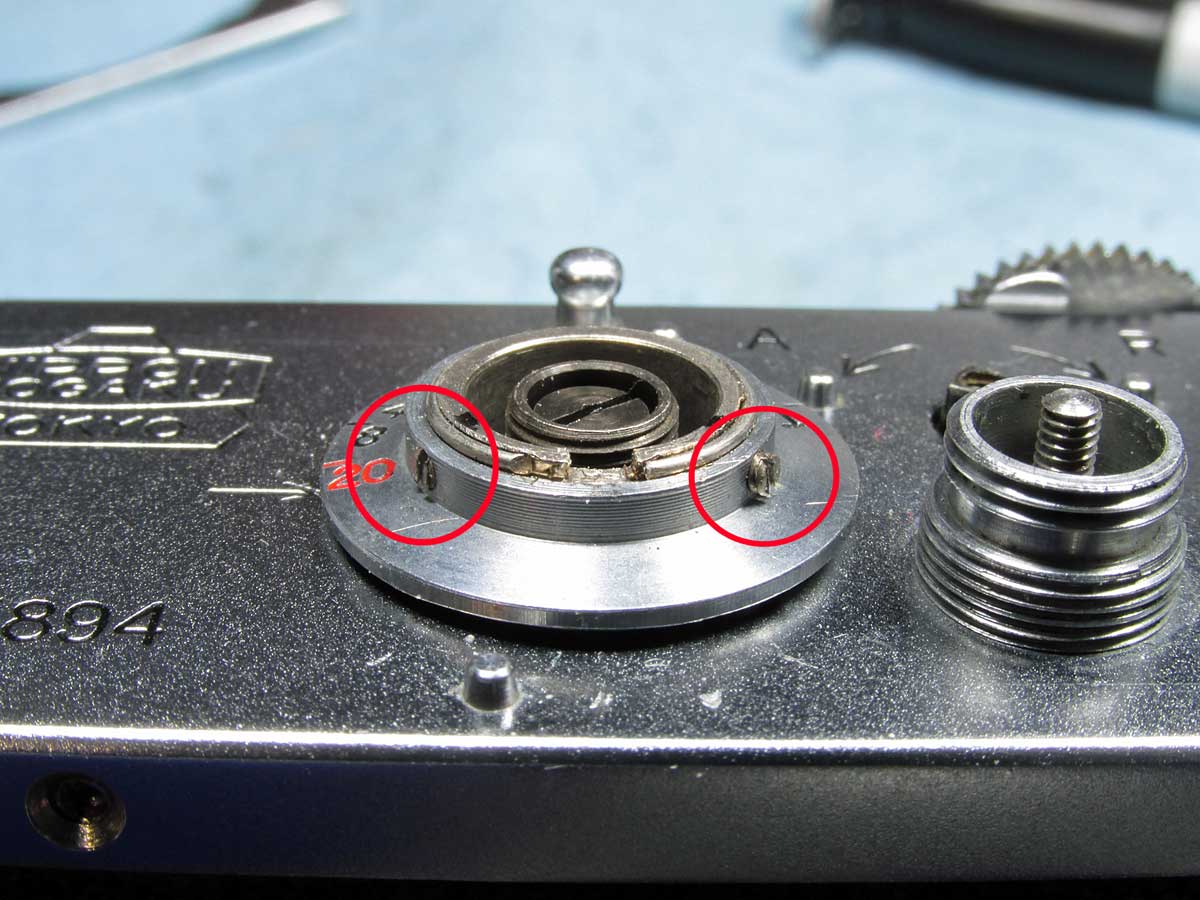
slow speed dial-1
with a sharpie, mark a dot above the set screws on the inner flange. this is the slow speed cam that as you rotate the slow speed dial, it increases or decreases pressure on the slow speed linkage that is connected to the slow speed escapement, so this method will make sure you get it’s position back to factory setting on re-assambly
slow speed dial-2
loosen but do NOT remove the set screws…
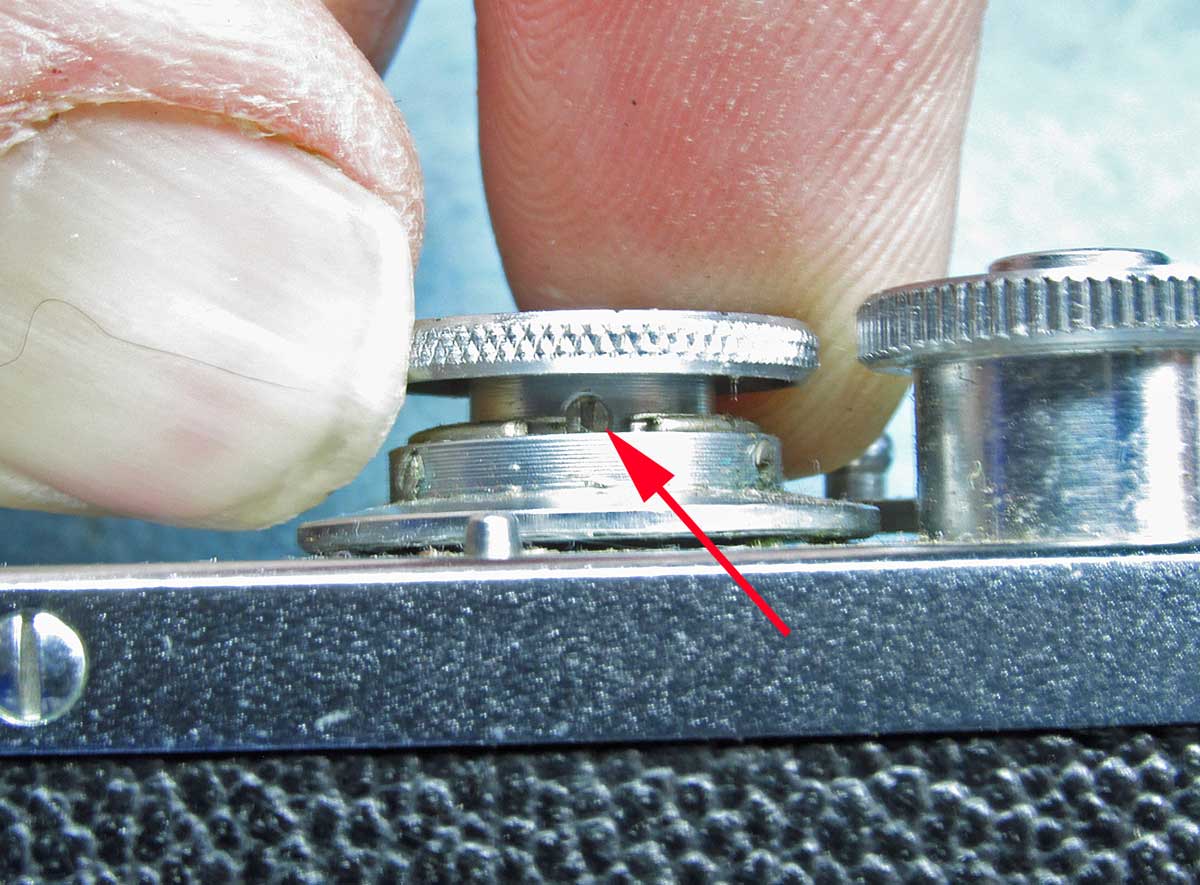
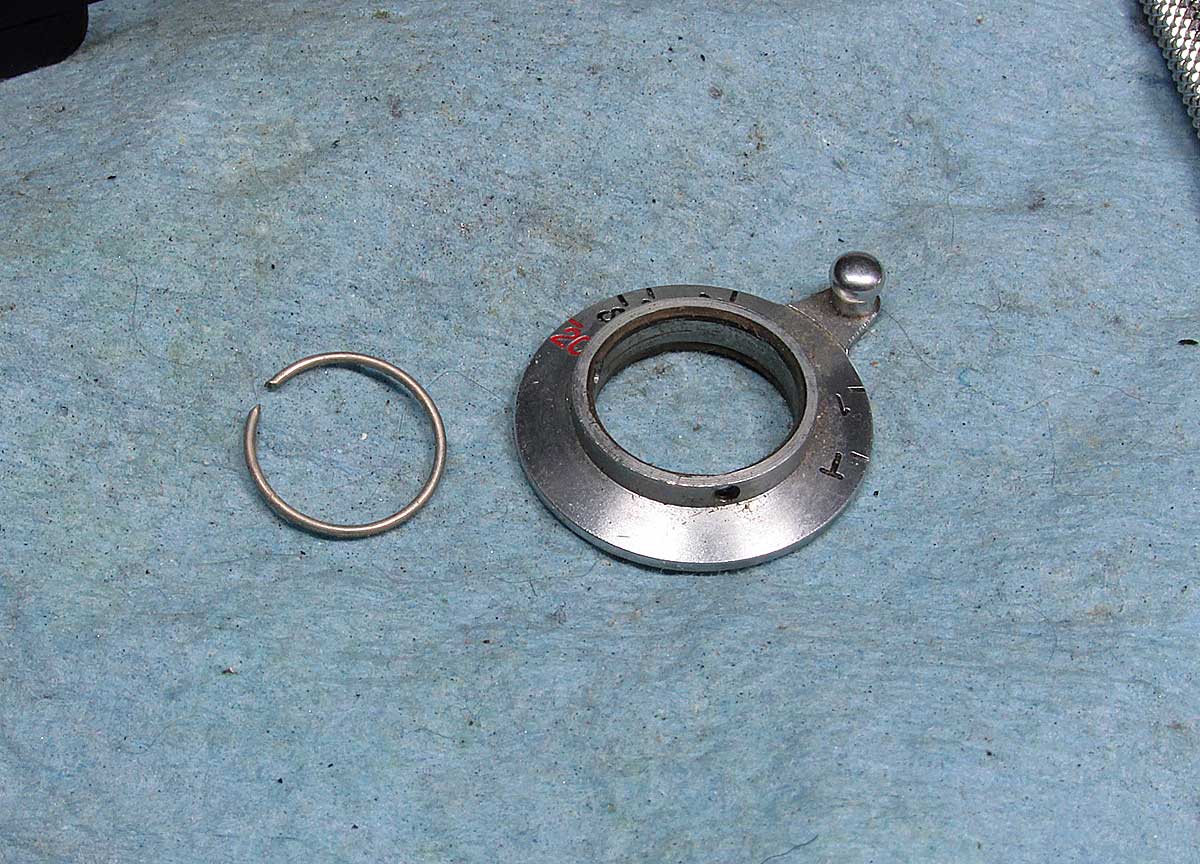
slow speed dial-3
on top of the slow speed dial, there is a split-ring, carefully remove it, don’t let it fly across the room. lift off the dial…
remove body screws
now remove the perimeter screws from around the top plate 3 in back and 2 in front (1 on each corner) then remove this screw in front of the accessory shoe. it is not necessary to remove the advance knob or the accessory shoe
top plate removed
with the top plate removed, there is a spring under where the shutter release button was, take it off so you don’t loose it.
slow speed cam
here is the slow speed cam you marked with the sharpie. see how it is graduated? that is why it is important that it goes back as factory set for proper slow speeds
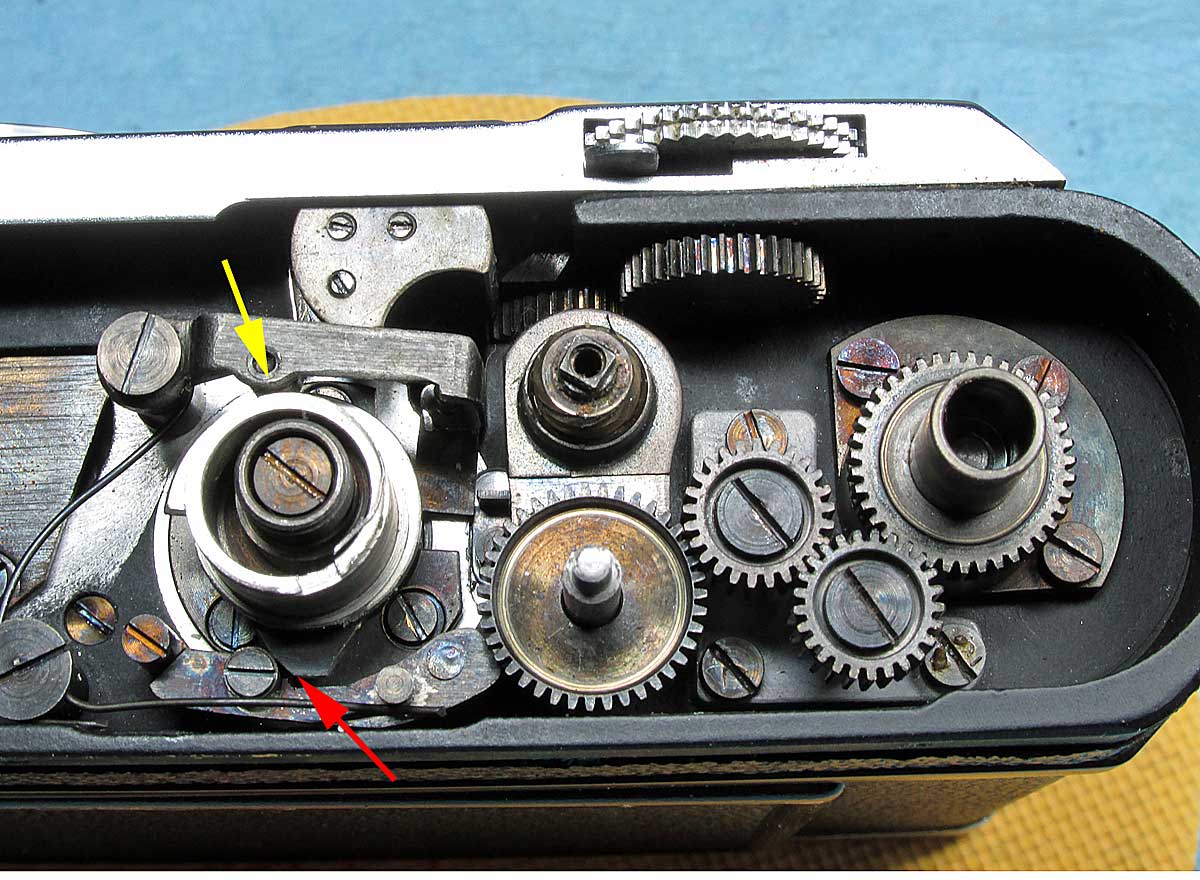
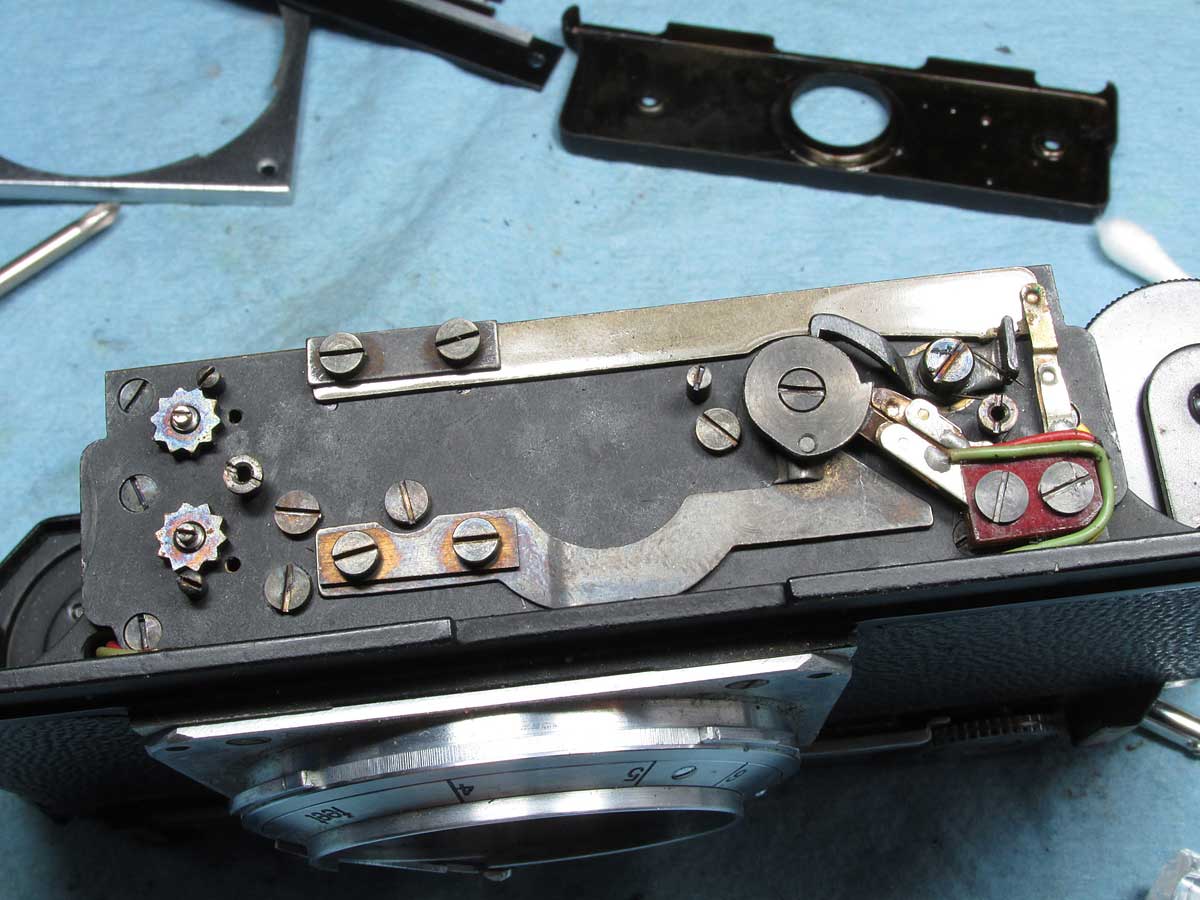
inside top-1
here is the inside of the top under the shutter speed dial area. the yellow arrow points to the lever that is in contact with the slow speed cam. the red arrow points to the shutter closing curtain release lever, the closing curtain release cam is resting against it. the crescent moon shape above the yellow arrow is the RF mirror housing. clean with lighter fluid and give a tiny spot of grease on the lever at the contact point (at red arrow) clean all gears with lighter fluid, being careful not to let it soak down onto the curtains.
inside top-2
under top plate in the RF/VF area. the boxy part is the prism cover, nothing to clean under there, the red arrow points to the cam that moves as you focus the lens. at the other end of the cam it is in contact with the Horiz. adjust screw. cleaning the optics is not that easy on the inside, basically I just did the external glass and the small mirror. It was good enough and a 90% improvement
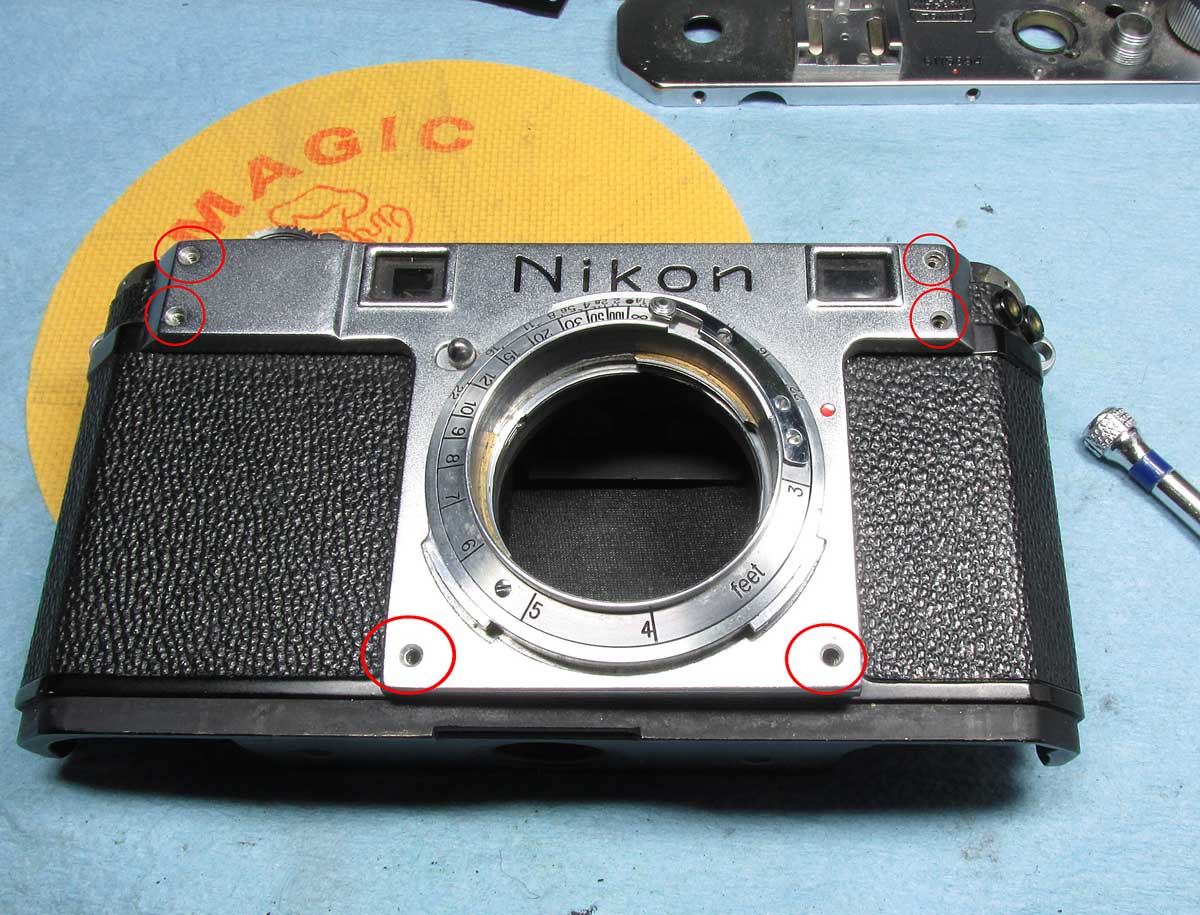
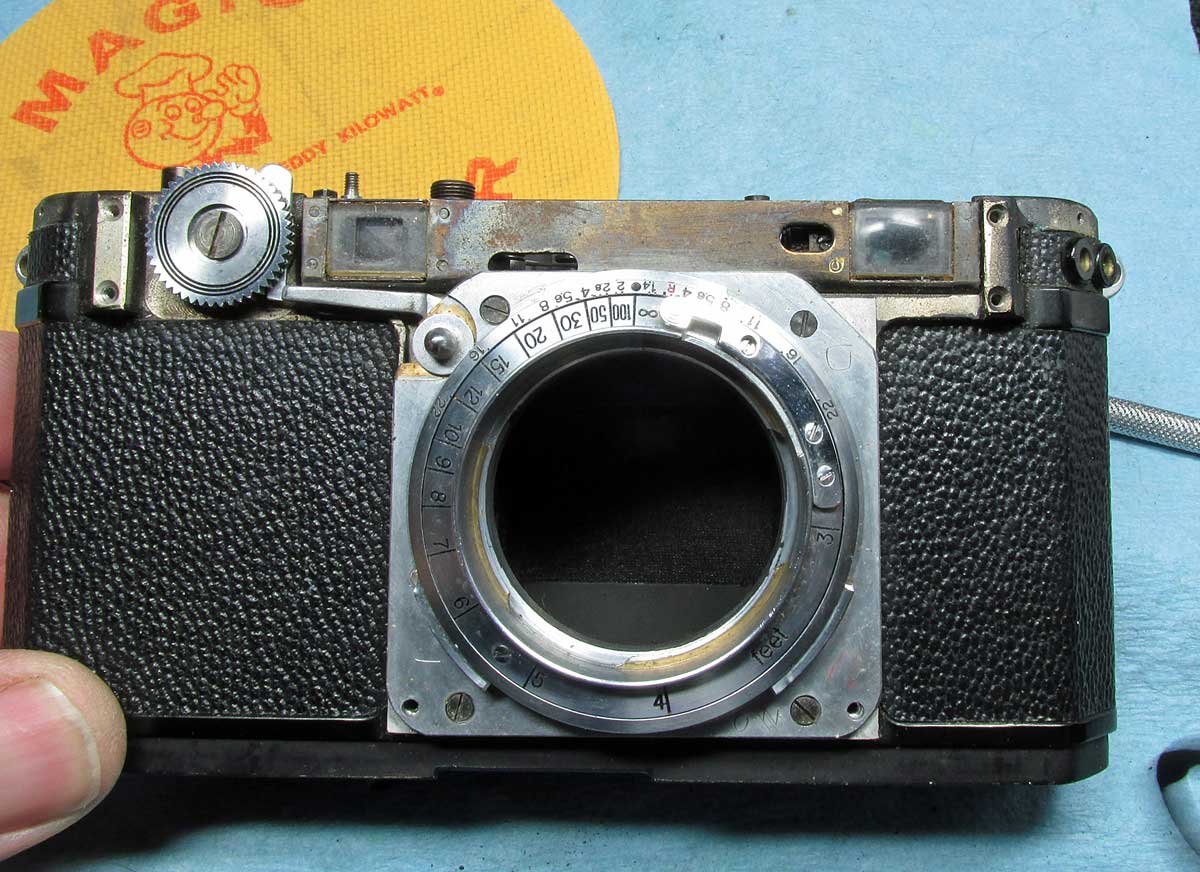
remove front plate
unscrew the 6 screws, (circled) the two at the bottom are longer. lift the bottom first then slide up to clear the focus dial.
front plate removed
here, I cleaned the front of the VF/RF glass plates. I looked at it with a loupe and noticed spider web type fungus. use a 50/50 mix of household ammonia and hydrogen peroxide to clean fungus.
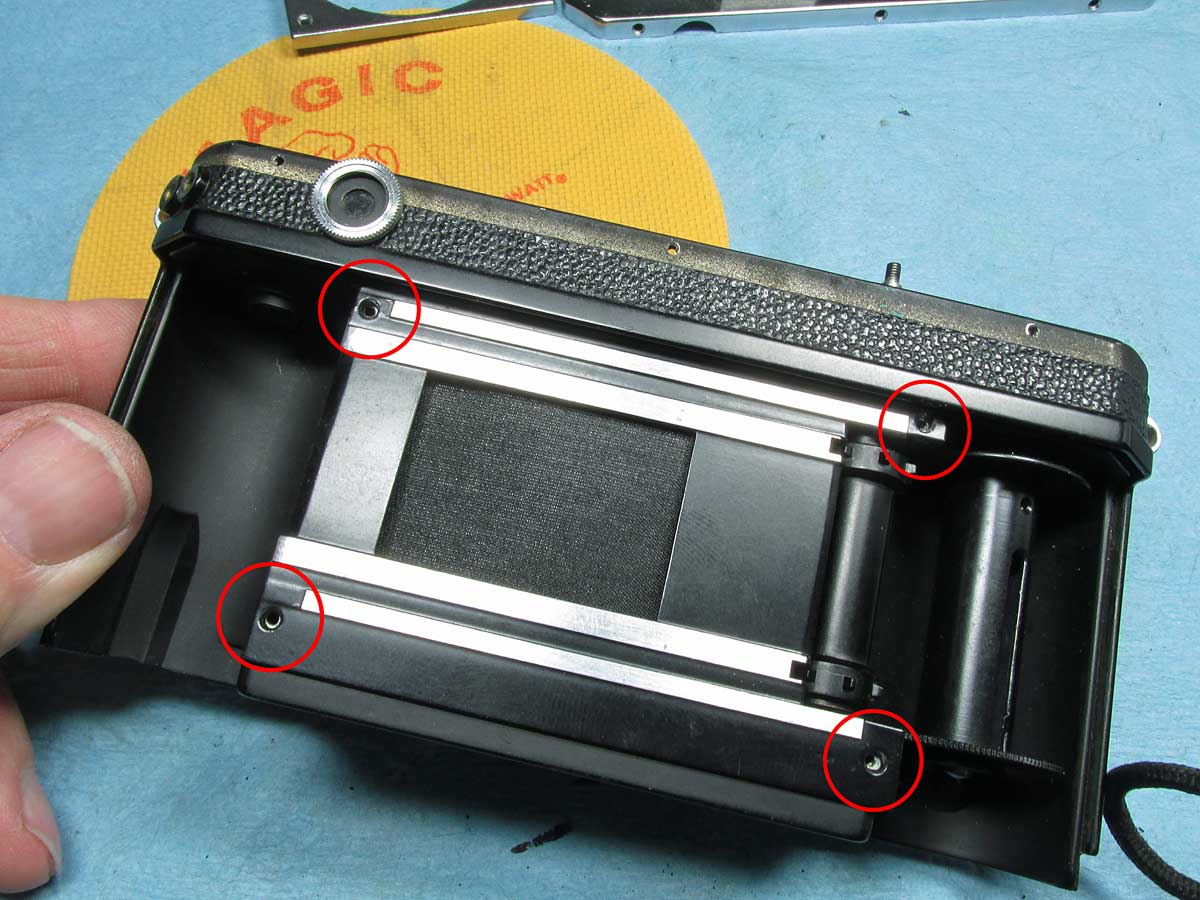
remove film plate
remove the 4 screws (circled) gives access to cleaning gears on the shutter curtains.
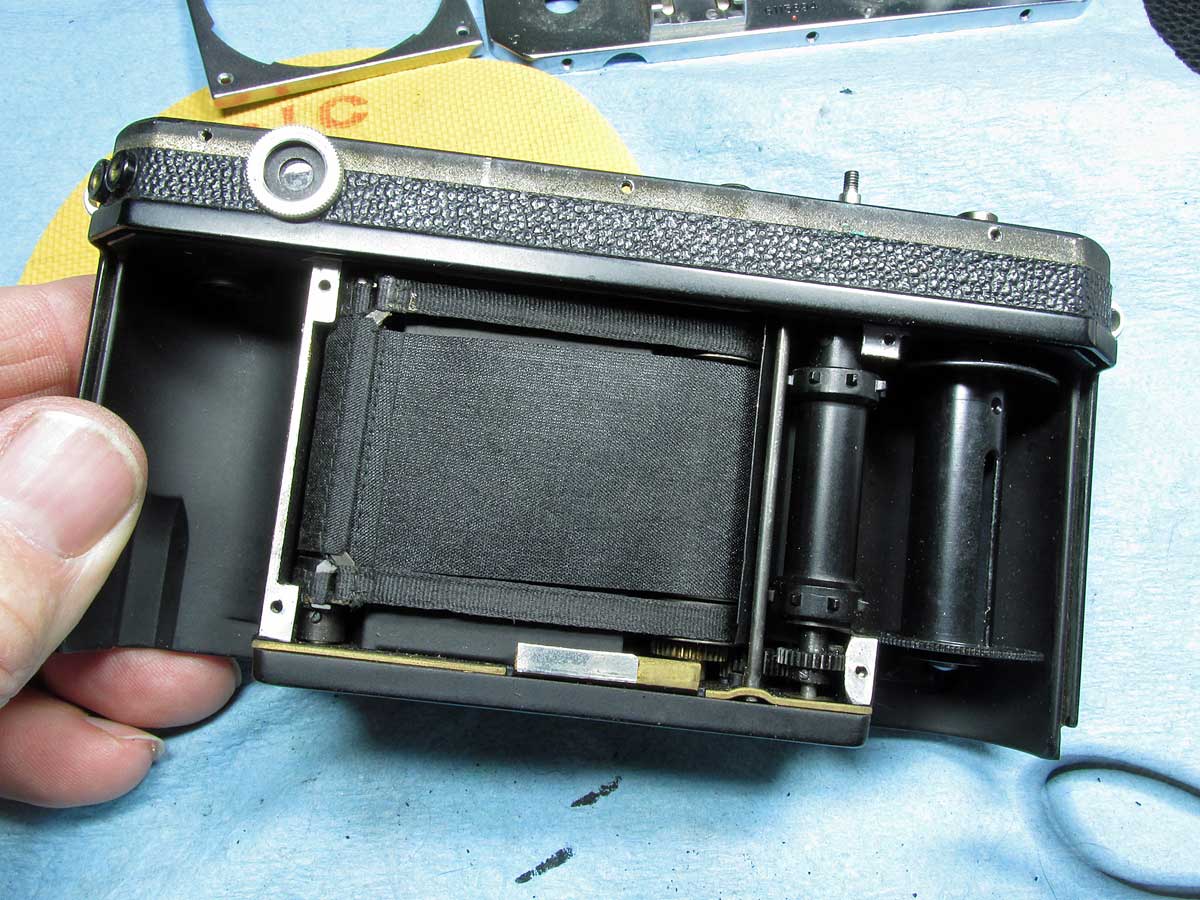
film plate removed
at the bottom of the curtain area I cleaned gears the best I could with lighter fluid staying clear of getting fluid on the curtains.
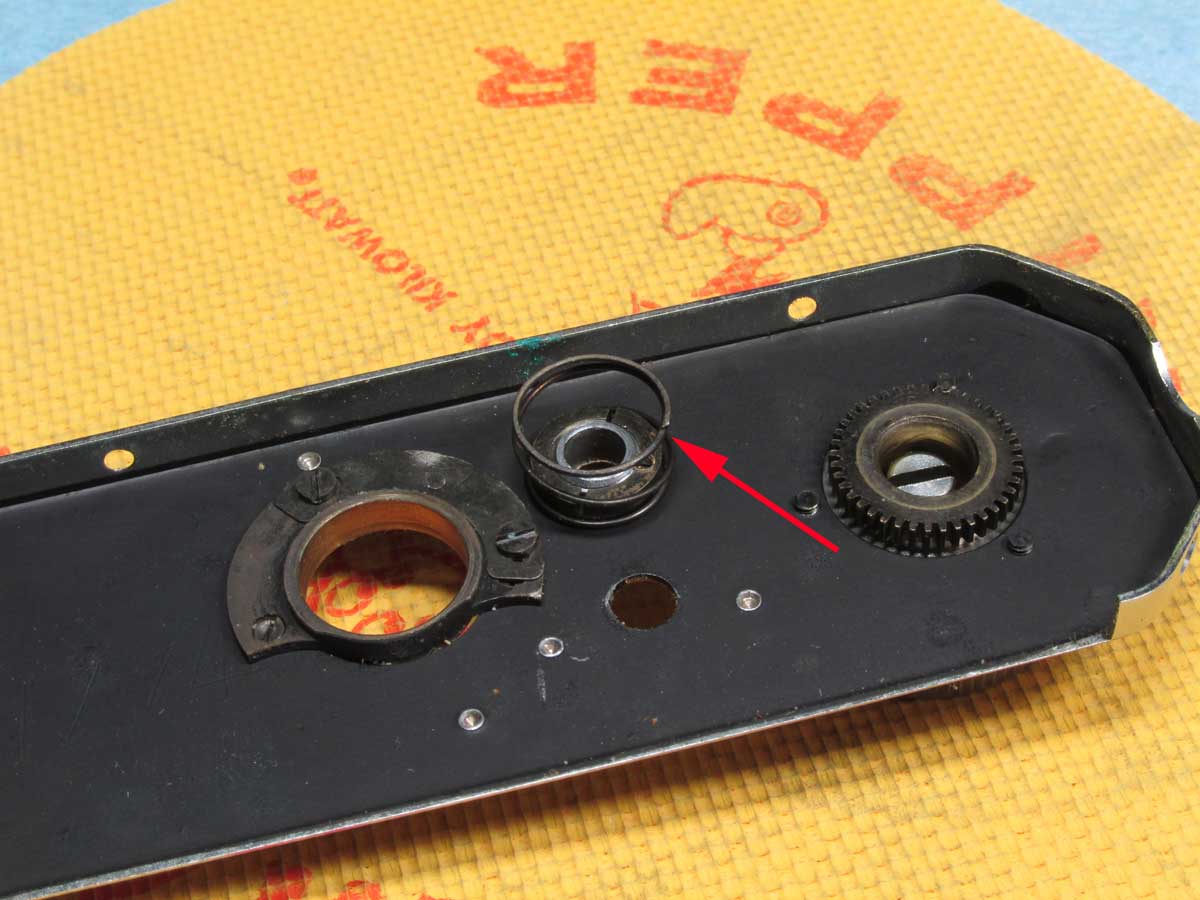
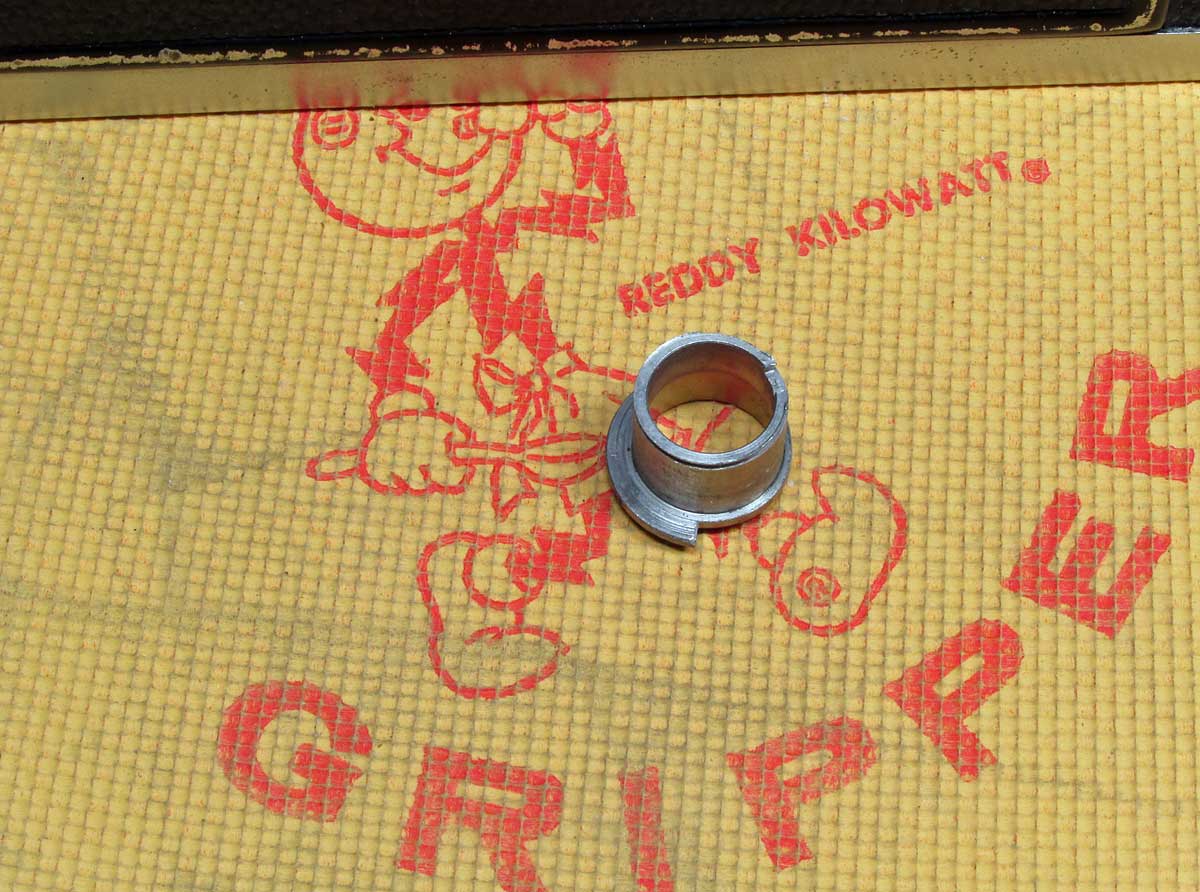
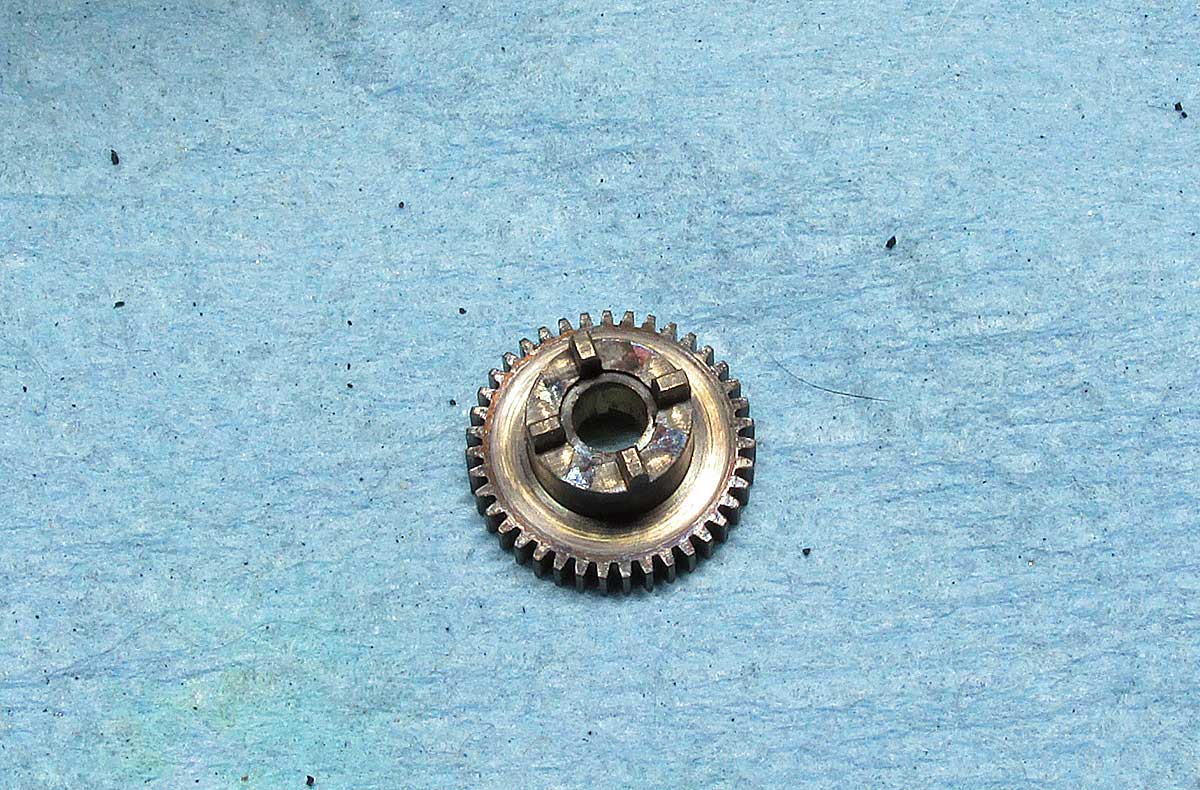
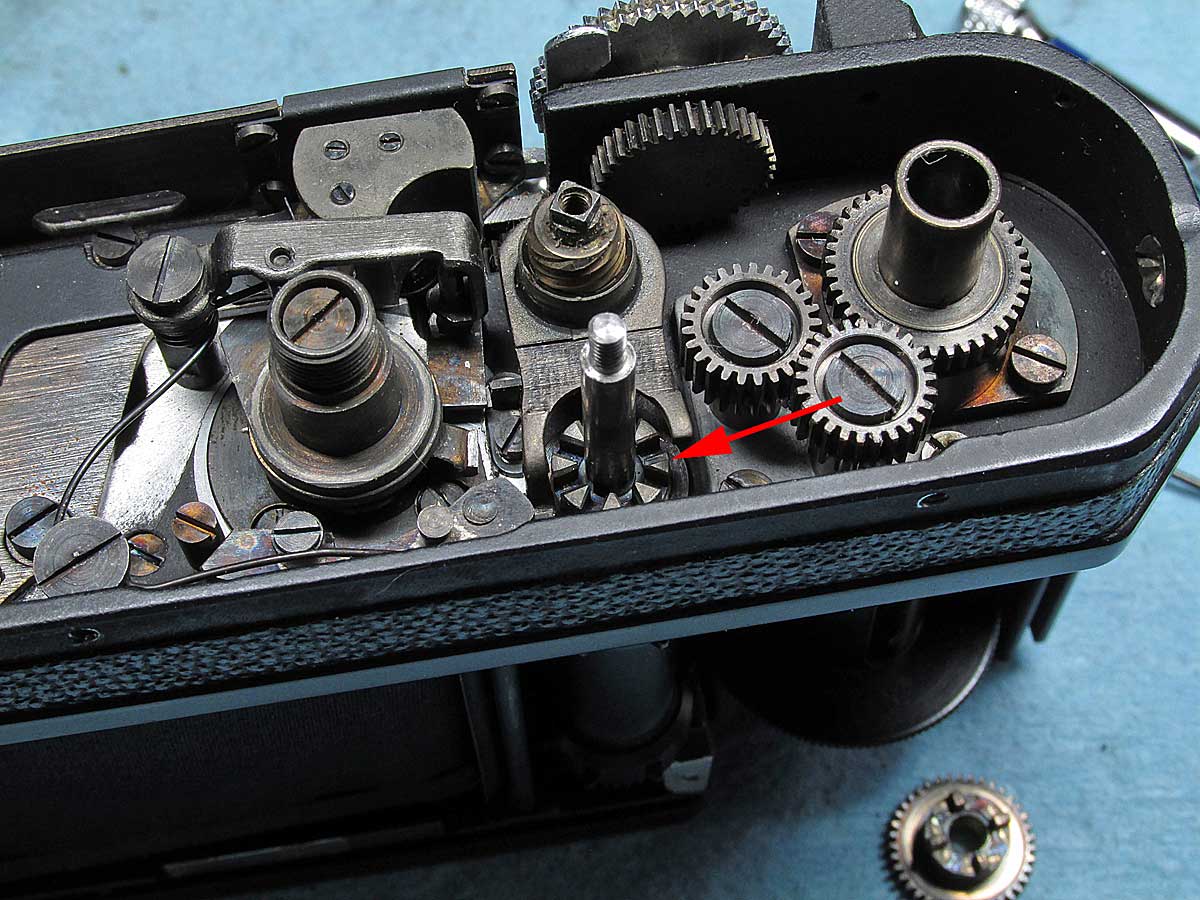
gear fell out
this gear fell out… [next]
gear goes here
…simply set the gear with the forks down back over the shutter release button rod and rotate it until it seats flush with the bottom.
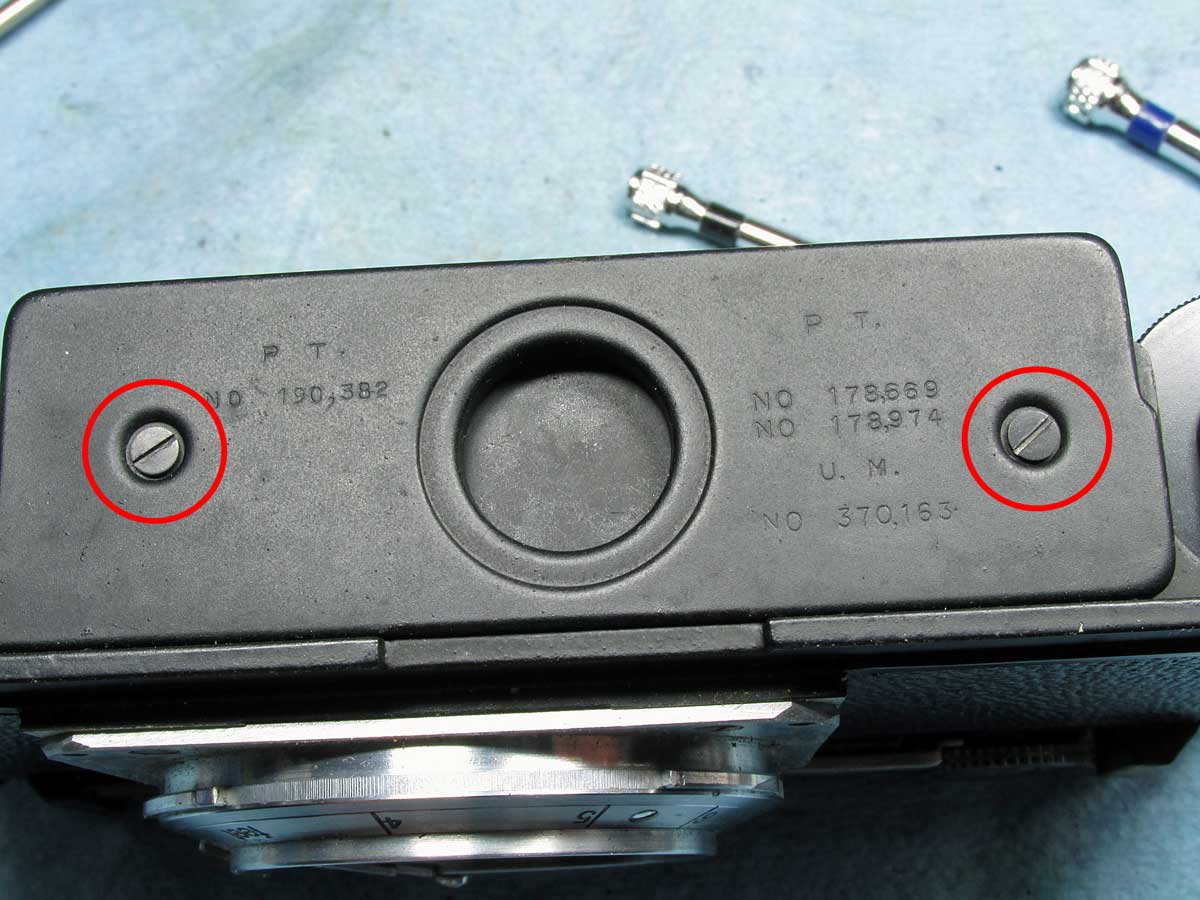
remove bottom plate
under here are the curtain tension adjust screws. I didn’t need to adjust anything. always clean and lube before determining if you need to adjust or not.
bottom plate removed
under here is the curtain tension adjust screws. I didn’t need to adjust anything. always clean and lube before determining if you need to adjust or not. clean the gears with lighter fluid careful not to get the curtains.
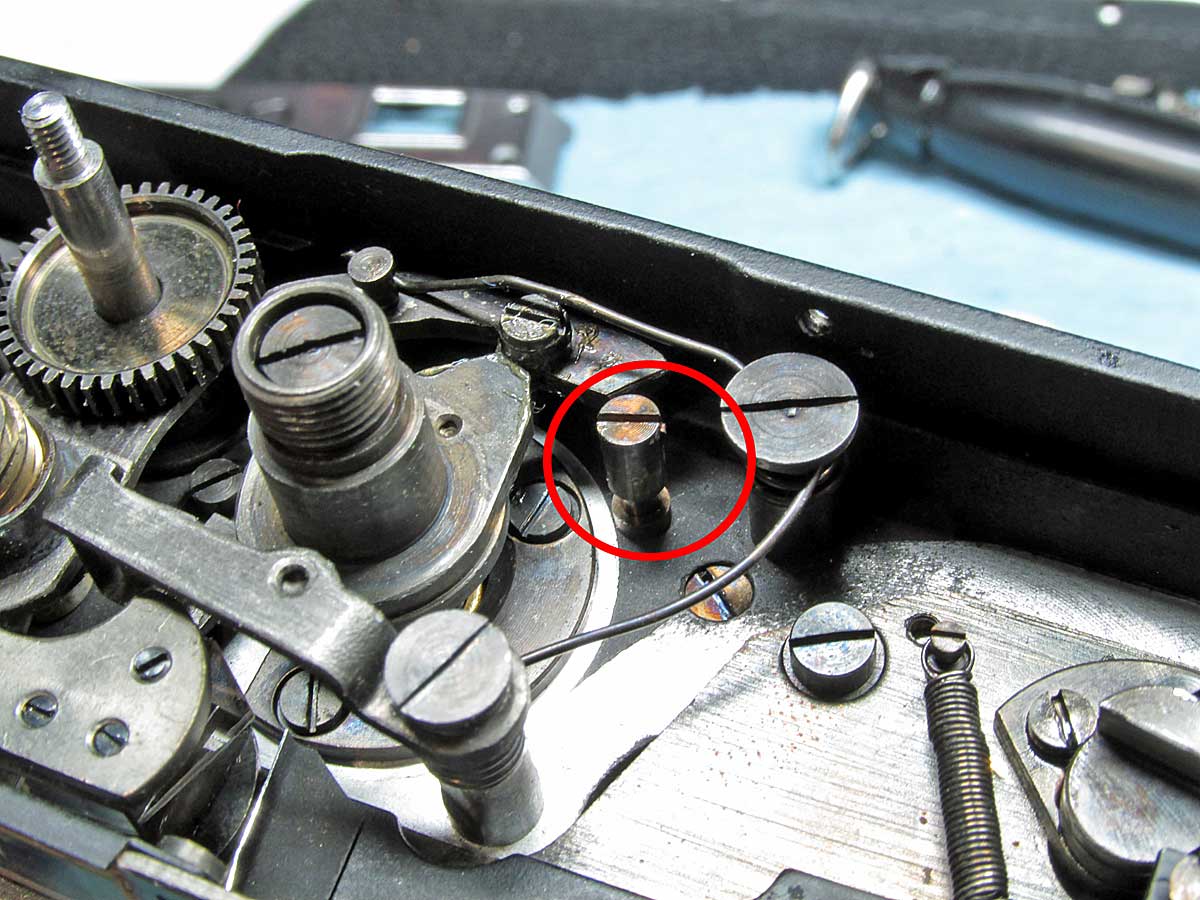
one culprit
this is the second camera that this rod has been the culprit of a misfiring shutter (other was a Leica IIIa), . the rod that the closing curtain release lever rests on. it was loose, caused shutter to not close every time. usually have to wind film advance knob to close it.
replace top plate/slow speed dial-1
here is how it should look before putting the top plate back on. thinnest part of the cam as shown to clear the slow speed actuating rod on re-assembly. do the trick from image 10 in reverse to get it positioned properly…. while looking down on it after the top is put back on, rotate the cam itself clockwise so the cog clears the post it rests against.
replace top plate-2
with the slow speed dial set to “T” this is about how the dot line up. after slipping the top plate on, turn the dial to “20” and with your thumb or a screwdriver, rotate clockwise the inner cam until the dots line up with the set screws. replace the split-ring and tighten the set screws.
finished
finished the partial CLA of my 1951 Nikon S. work done: partial disassembly, removed top and bottom and film plates, cleaned RF/VF optics, cleaned gears, moving parts lubed where appropriate repaired loose parts.
The slow speed dial is not as complicated as it may seem. basically you need to clear that linkage with the cam as you re-assemble. It’s a fairly easy camera to work on except I’m not sure how to get at the shutter curtains for replacement.
5 thoughts on “Nikon S Rangefinder CLA”
What if the shutter is simply not opening? Where do I start? I only paid $3 for an S in visually good condition, with a lens, so I’m not risking much.
without looking at it I’m not sure… does it wind? does it click without the shutter opening? could be the shutter tension springs are not tight enough, I’m not that familiar with the Nikon more into the Barnack (Leica, Nicca, Leotax etc…)
This might help. It’s not Nikon but the principal is the same. The bottom and top of the Nikon is very similar to a Leica or many more modern cameras with focal plane shutters. I would first observe the bottom (with bottom plate removed) and look at the Pawl as you press on the shutter button. is the Pawl clearing the catch? if so try gently spinning the Pawl with your fingers. the first link is basic Focal plane shutter stuff, not brand specific, the second link is for a Leica but like I said, the Nikon is very similar. Rick explaines how it works pretty well..
http://www.pentax-manuals.com/manuals/service/focal%20plane%20shutters.pdf
http://members.tripod.com/rick_oleson/index-90.html
My S2 doesn’t work correctly slower than 1/60, where is a good place to send it?
not sure, I always repair my own. Try Google or the RangefinderForum site.