Ok, first some revisions to “phase I”. I went ahead and extended the deck 1 foot out the other side after all, so it is a full 16 ft deck. I had to remove the old awning before I could go any further…
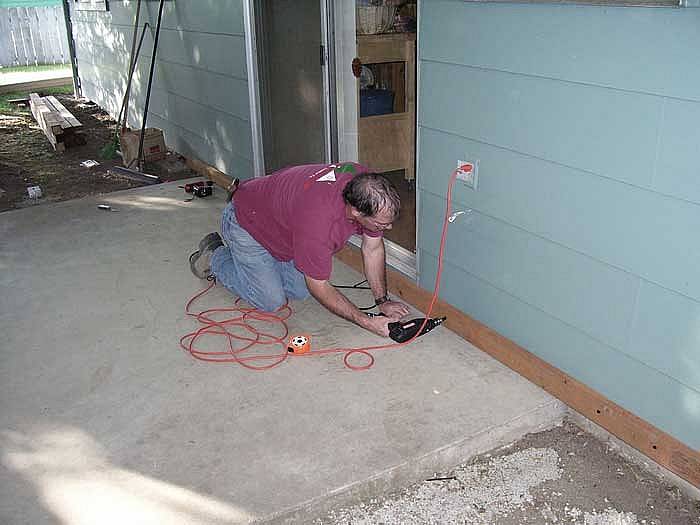
 The awning was on a hinge like mounting so we just removed the bolts holding the support posts to the top and swung it down. It was even lighter than I thought it would be, being aluminum but fairly large. Then we supported it with scrap blocks of wood because it was narrower (7′) than the height of the over-hang (7′-8″) from the top of the patio to ease in removing the screws holding it to the fascia.
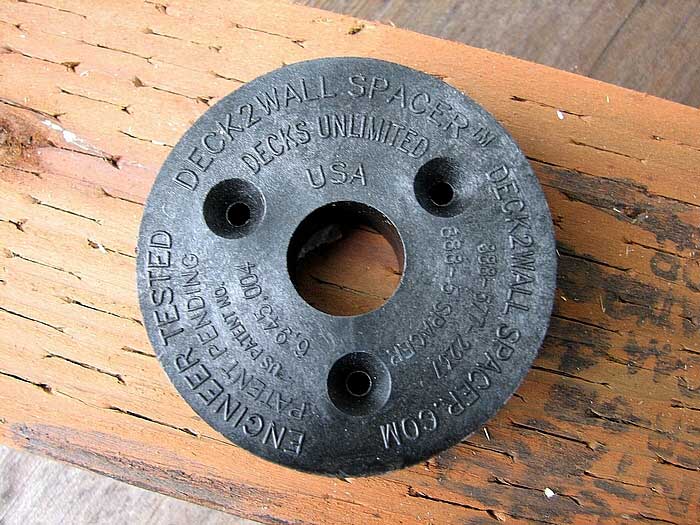
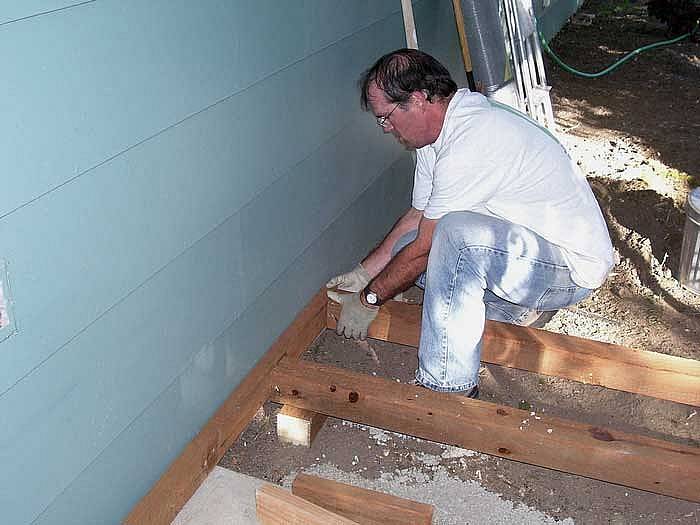 Now I could lay down the deck joists, but first I had to attach the ledger board I talked about in the last blog. First I marked where the joists would be on the ledger so I didn’t have a bolt right on a spot where the joist went. I also marked the joist positions on the outer rim board, opposite of the ledger board at the same time so they line up well. Then attach to wall with bolts. Then, since I am using the “Deck2Wall” spacer, you must remove the ledger, then screw the spacer right over the holes using 1 screw to hold it. Then put a dab of silicone on the holes in the siding and re-attach the ledger.
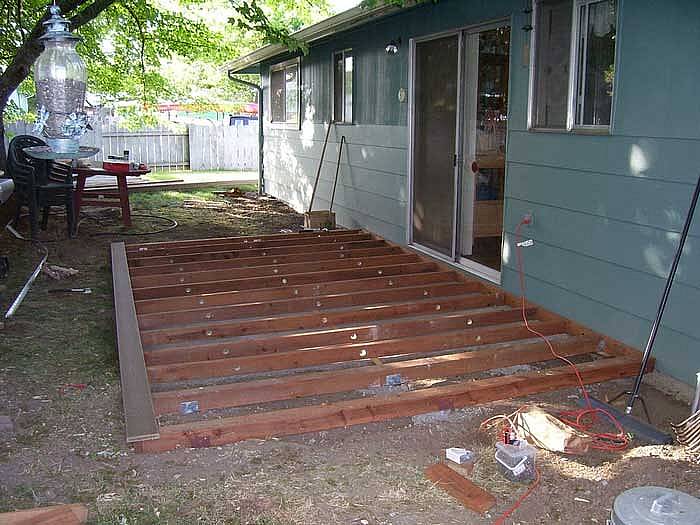
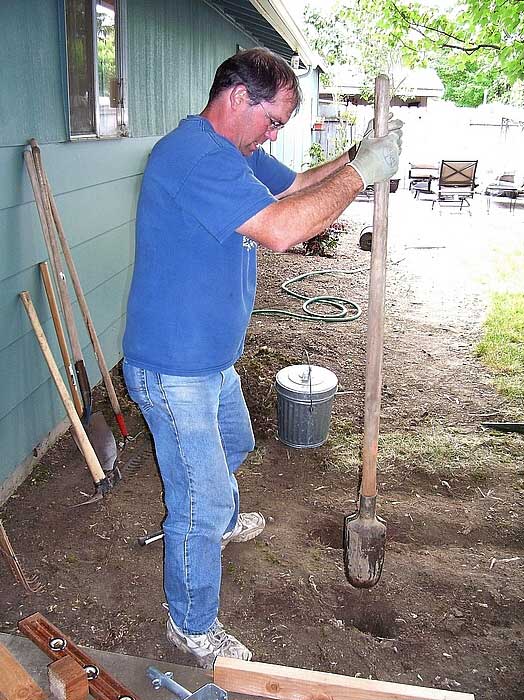
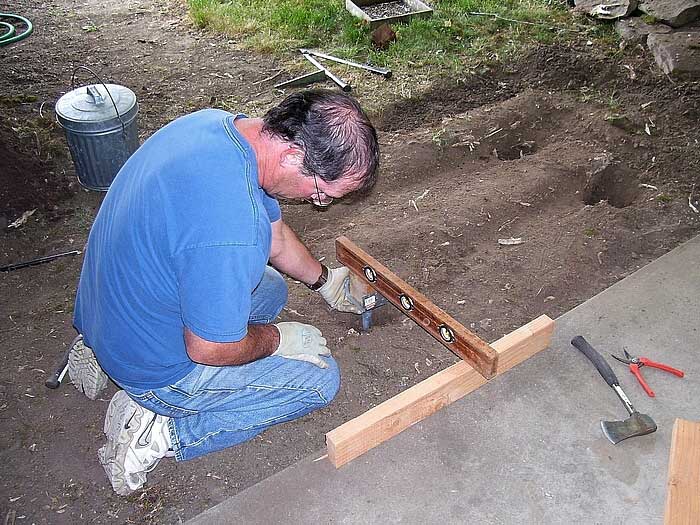
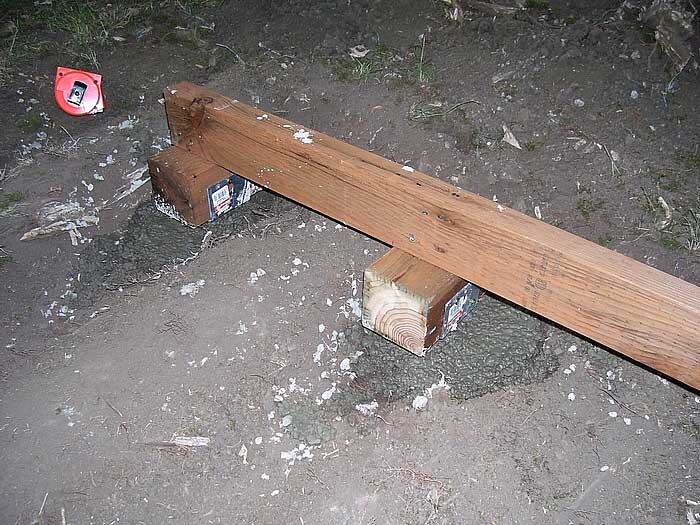
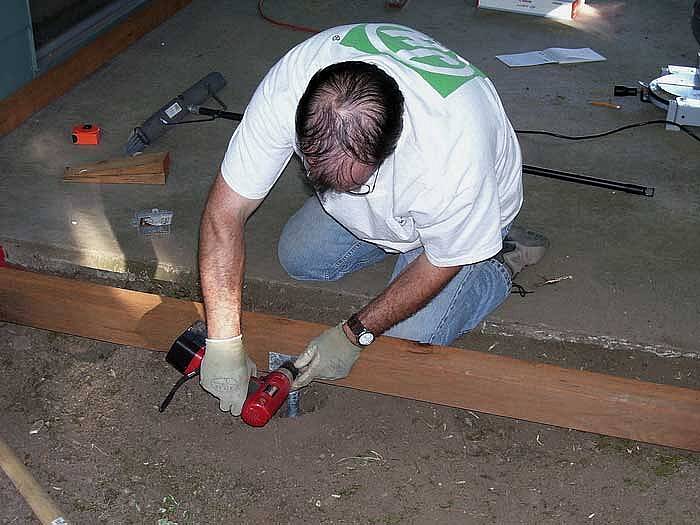 Now I could attach the joists to the ledger. I laid down the two outer joists, attached the rim board, then laid the rest of the joists on their marks. Since it was resting the right on the patio slab, I simply “toe-nailed” them to the ledger using 3″ screws. The outer 4×4 posts used a saddle bracket to mount them to the ledger. As a precaution, since it is only a 2×4 ledger, I dug out a small area under the ledger and braced it with a pier block, just for added support. If I had been thinking, I would have put one more post brace on the outer 4×4 joist right near the ledger.