Tag Archives: Block Patio

Block patio project, Phase IV

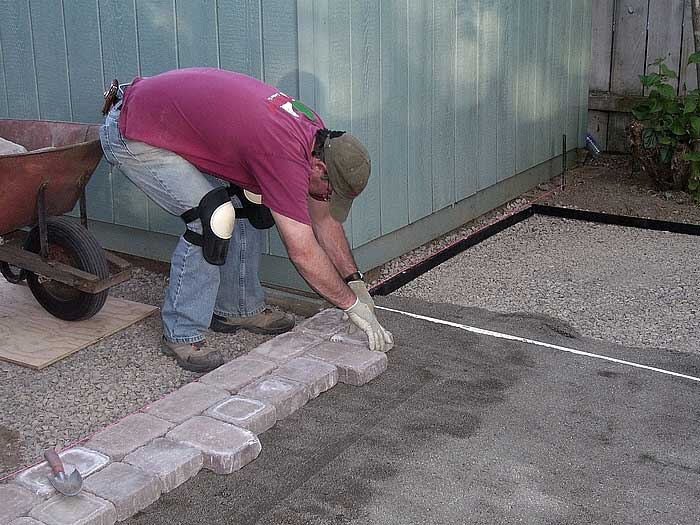
After getting the block down, you must go over it with a plate tamper, the same one I used to pack the 3/4 minus gravel earlier. I’ve heard different ways it should be done, like spread the sand over it first then tamp it, or even leave it thick over the block while going over it with the tamper. I opted to use the method I read in the booklet that the manufacturer of our block put out… (click thumbs)

tamping the block 
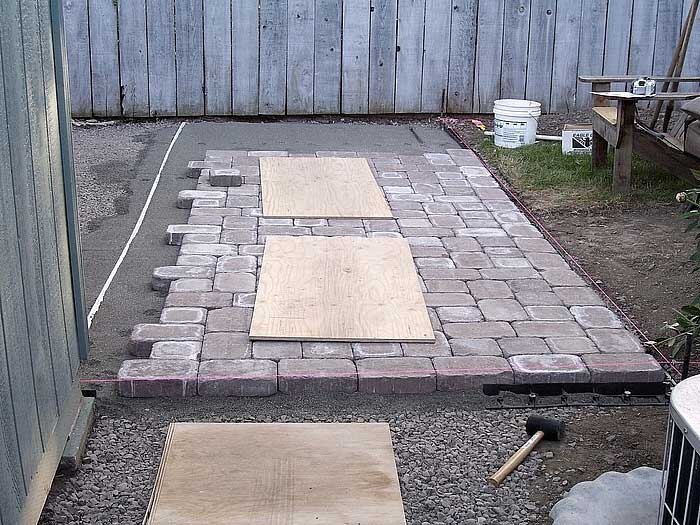
First, I tamped the block before sweeping the sand into the cracks. I went around and back and forth several times. They suggest this so the sand will fill the cracks from the bottom up. Perhaps if you fill the cracks with sand prior to tamping it won’t come up as far from the bottom?

sweeping sand sand in cracks 
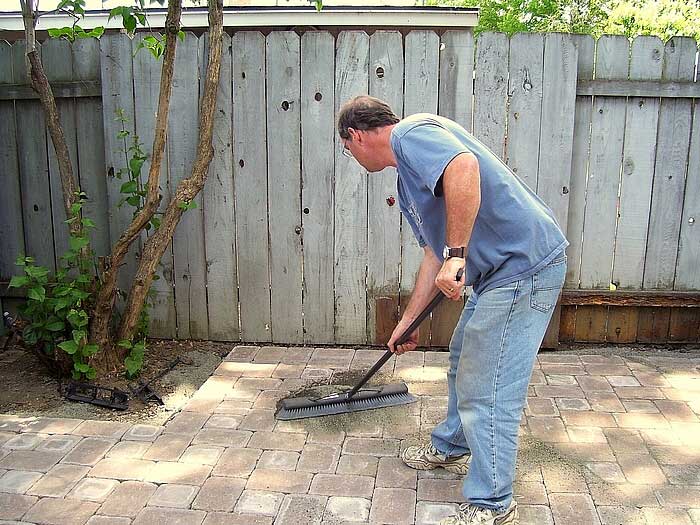
Then I swept the sand into the cracks real good, first at 90 deg. to the cracks, then at 45 deg. angles to the cracks, then I went over it with the tamper again as before, making several passes in both directions.

brick path 
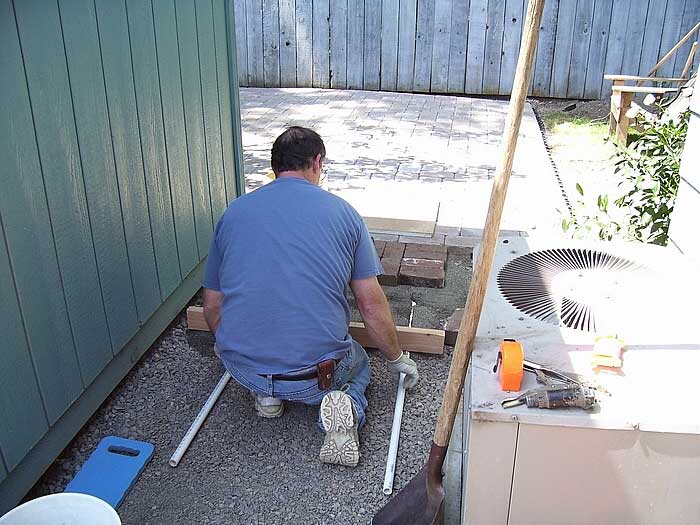
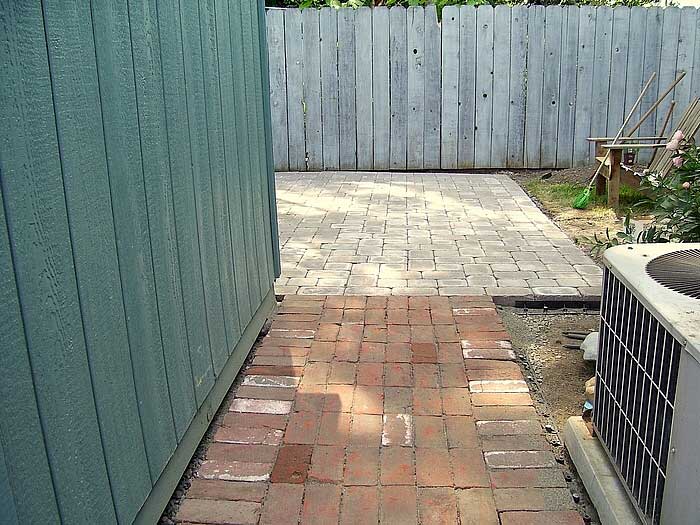
Here is the brick path between the garden and patio, we did the tamping the same way.

Finished patio finished patio 
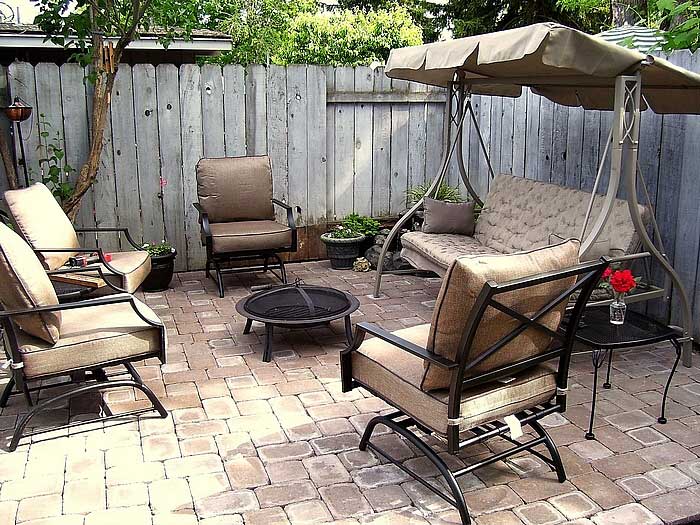
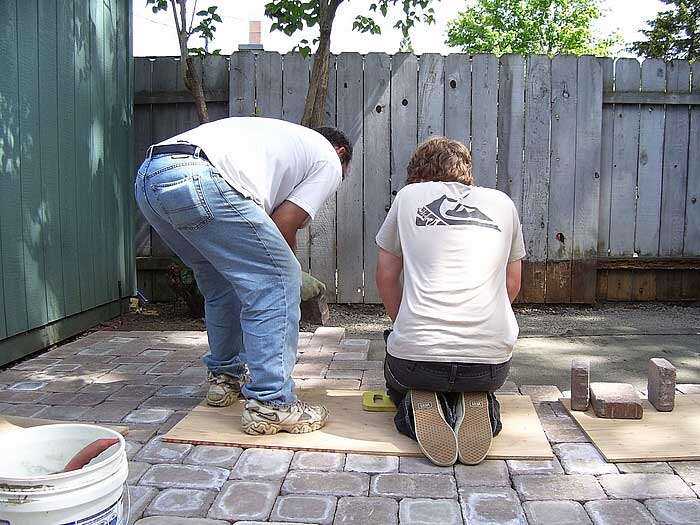
Here is the finished patio! We are very pleased with how it turned out.

tuckers portrait 
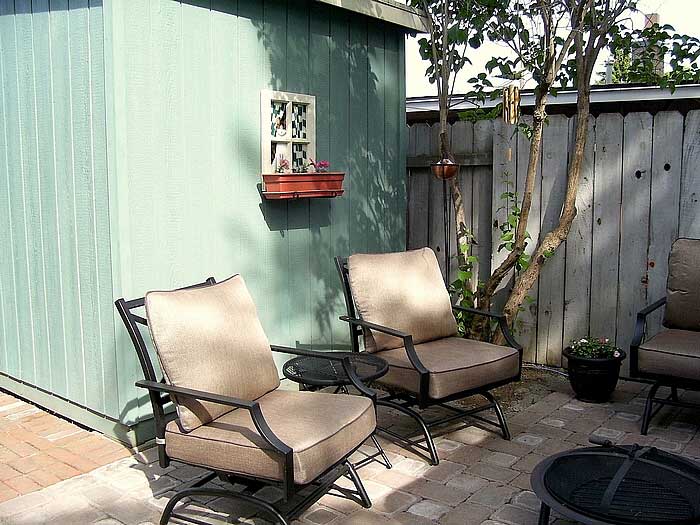
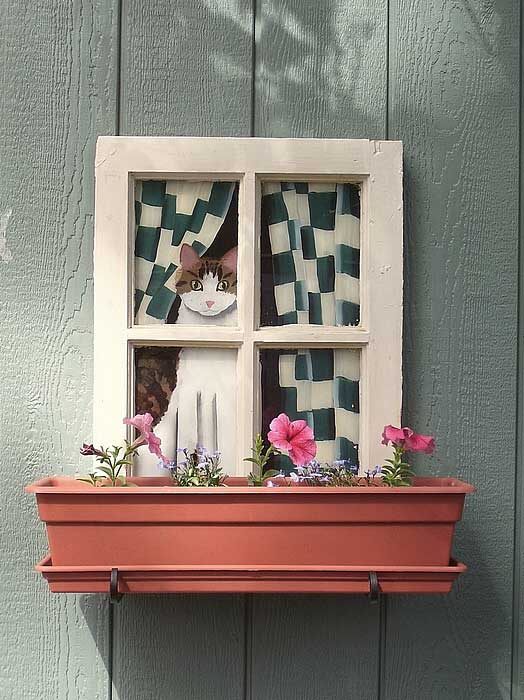
Here is a little old window we found at Morrow’s antiques and Nick knacks we placed on the back of the shed. Cheryl did a “reverse painting” of her cat Tucker peering out on the panes of glass.

fountain 
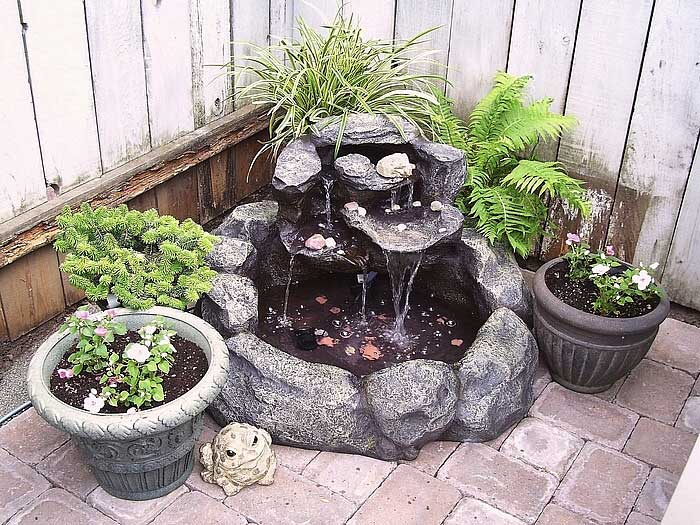
This is a fountain we found at Lowe’s. We looked all over and this was the nicest looking one for under $300 we could find. It’s fully contained for the most part, just add water!

This concludes the block patio project. We are still not done though with the back yard. We need the new deck over the old existing patio and the pathway between the two, plus misc. landscaping.

Block patio project, Phase III

Now the fun begins! After packing the gravel comes the time to lay some block. First I made a bed of sand 1″ (inch) thick by laying 3/4″ PVC pipe (3/4 is the inner diameter, 1″ is the outer diameter) and using a straight 2×4 to “screed” the sand.

screeding sand (click thumbs)

Then, following the edging we laid down earlier, we started making our rows of block following the pattern we liked. Our is called an “I” pattern. After carefully laying the blocks, make sure the edges are tight and square and gently thump the block into the sand if need be.

patio-087.jpg patio-099.jpg patio-104.jpg

Using cuts of plywood helps in not disturbing the block until it can be tamped.

Here I am kissing the final stone after several hours just of laying block and 5 weeks total, mostly after work and weekends digging and scrapping.

patio-113.jpg

The next day you can hardly move but we wanted the get the antique brick path between the new patio and the garden finished sooo…

patio-118.jpg

My wife Cheryl laid most of the path bricks.

Block patio project, Phase II

Now that the pad for the patio and pathway between the garden and patio have been cleaned and prepared by removing all dirt and tree roots, it’s time for the gravel.

(click thumbnails to enlarge image)

The gravel gets delivered by a local rental place.

Chris and I get to work spreading the ‘3/4″ minus’ gravel. Most tutorials and how-to’s say to use 4 inches of gravel, but I have asked around and some “experts” have told me that 2-3 inches is fine.


Now I am using a plate tamper to pack the gravel. I first hosed it down lightly and this helps it to stay packed when finished. I made two passes going opposite directions, making sure it was just damp but not soaking wet.

Just in time, our block is delivered and set right where we wanted it.

After packing the gravel down we are making ore starting corner. It must be a perfect 90 deg. angle so the block stays true throughout the laying process. We used a “3-4-5” method using our string line (measure up one side 3 feet, up the other side 4 feet, then measure across the two points you made and it should be exactly 5 feet) we were extremely lucky and it was perfect the first time! (my great eyeballing)


Block patio project, Phase I

Ok, as if the kitchen remodel wasn’t enough, now we are tearing out the back yard and making it a more inviting and livable space. We are putting in a block patio with a small tiered fountain on one corner and we also decided to improve the flower beds and convert our existing patio into a deck.

Here are some “before” shots of the patio area at the far end of our yard, the flower beds along the house, and the existing patio that we are going to convert into a deck.

(click thumbnails to enlarge image)

First off we had to remove the dilapidated old flower bed in the corner and remove the old dirt.

Then we cut the grass with a rented sod cutter. This was used to cut down below the grass and easily remove the grass in big 12″ to 18″ pieces. We did this for the patio area and the extended flower beds as well.


After removing the sod we had to remove the small tree roots and layers of dirt to get down to the final depth. I opted to use the sod cutter twice again as it cuts a uniform 2″ depth on each pass, then all you do is scoop out the loose dirt. We used the loose dirt from the patio excavation to fill in the widened flower beds.

The sod cutter only get so close to the fence, shed, etc.  so we had to go around with a pick to remove dirt to the level of the rest of the pad

Moving the flower beds out also meant we had to move the sprinkler heads out to the new edge of the grass