Recently my wife’s brand new Cuttlebug V2 embosser lost an internal gear and quit working. After searching the internet, she discovered it is a known problem. The manufacture was awesome, they sent her a new one for free and let her keep the old one. We decided to repair it and keep it as a backup in case the newer one breaks after the warranty is expired.
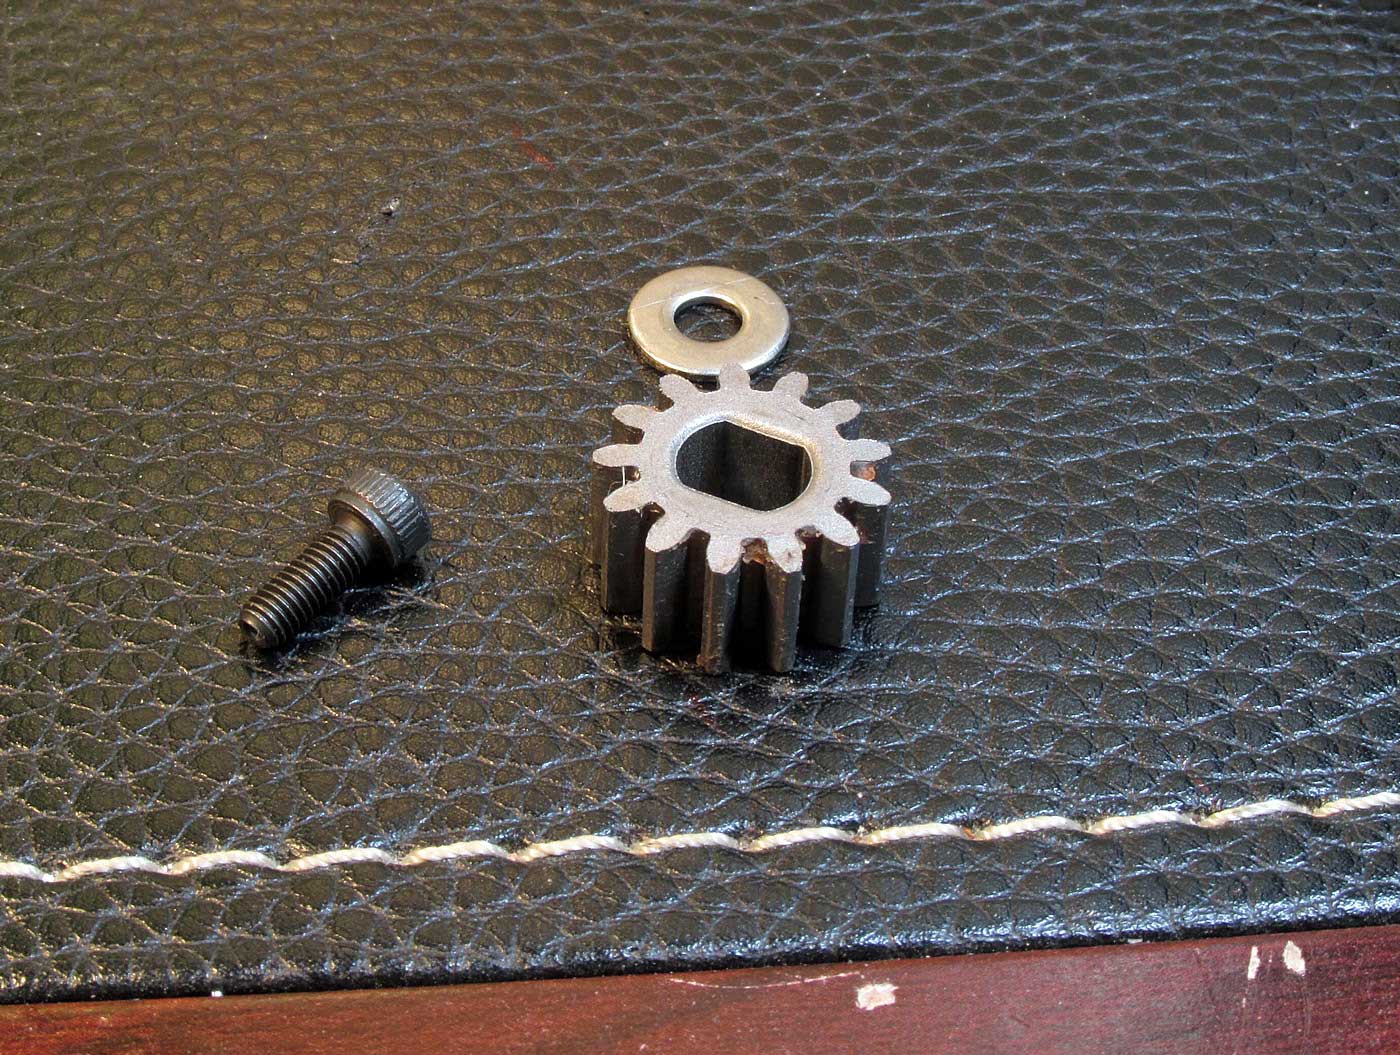
As with most cases found searching the internet, a gear, washer and screw falls out the bottom. On ours the washer was missing. I went to the hardware store and got a basic #6 flat washer.
This repair is for the newer model Cuttlebug only. If you have the older version, this link might be of help. Also, this is posted as a reference to this repair only. I do not know any thing else about the CuttleBug or repairs, it is my wifes CuttleBug.
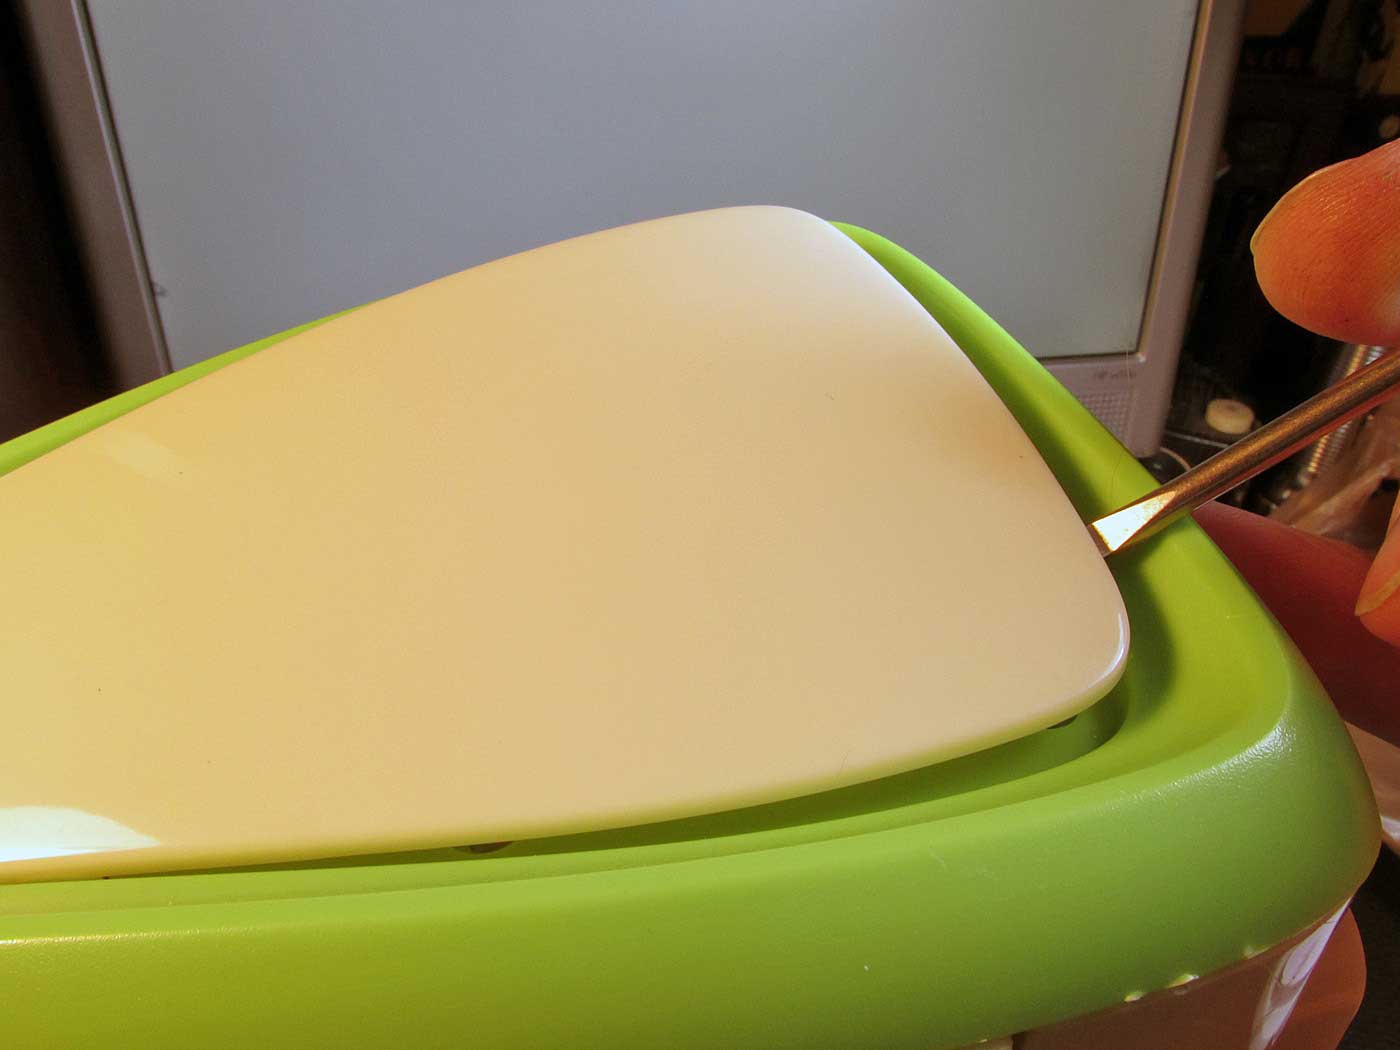
1.) take a small screwdriver and carefully pry off the lighter colored end panel, starting at the bottom. (Hint: unfold the handle and turn it to the side, it will steady the machine as you work)
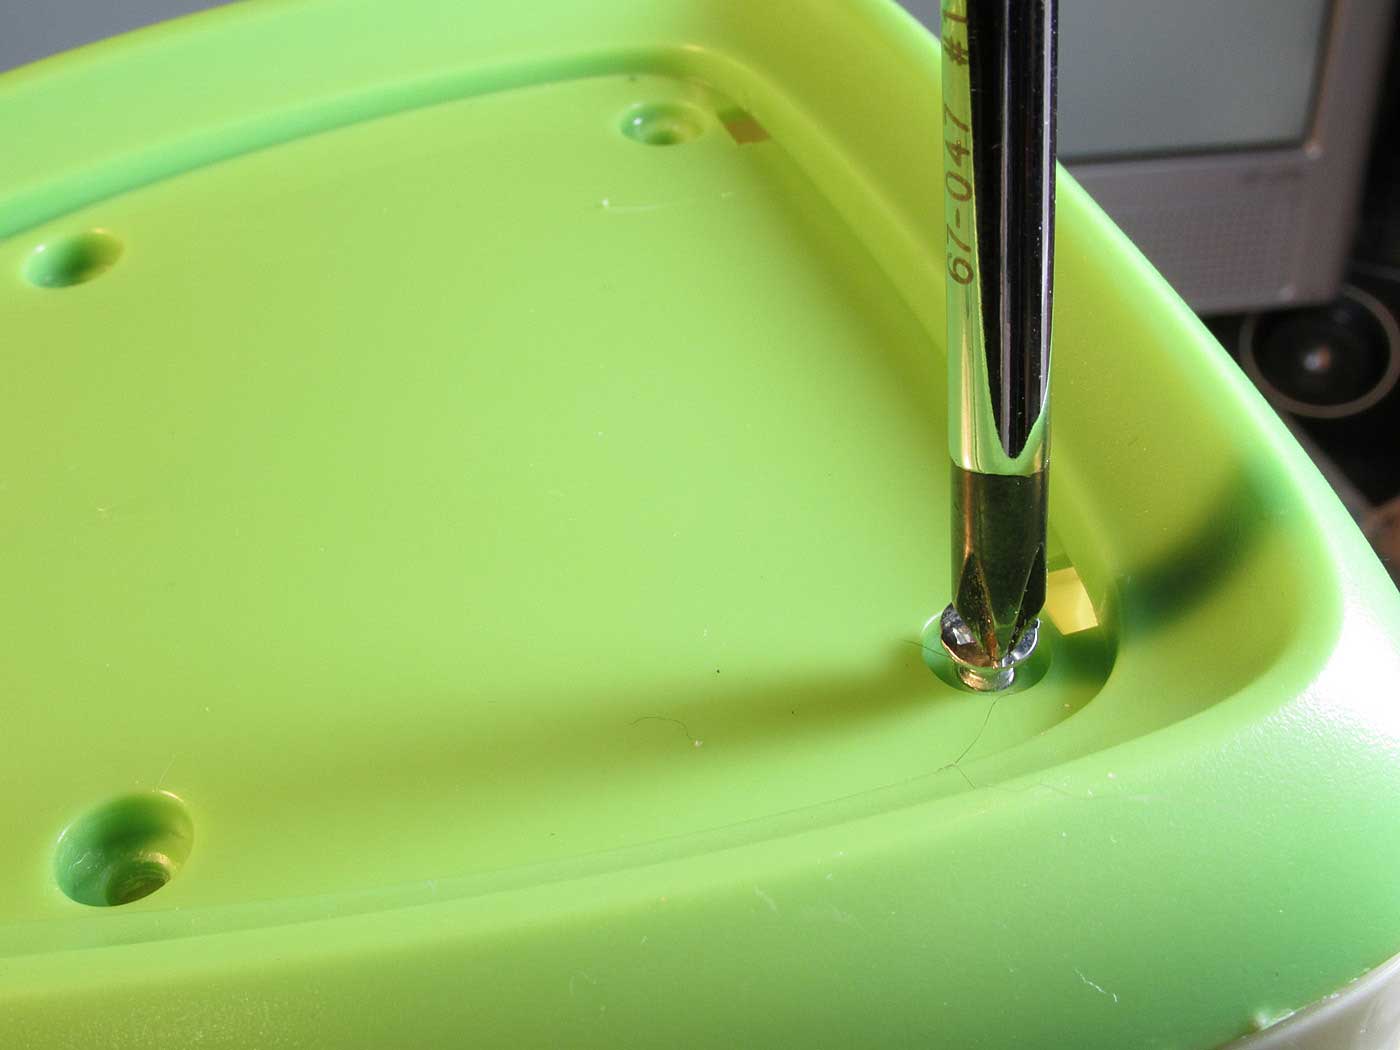
2.) unscrew the 6 screws
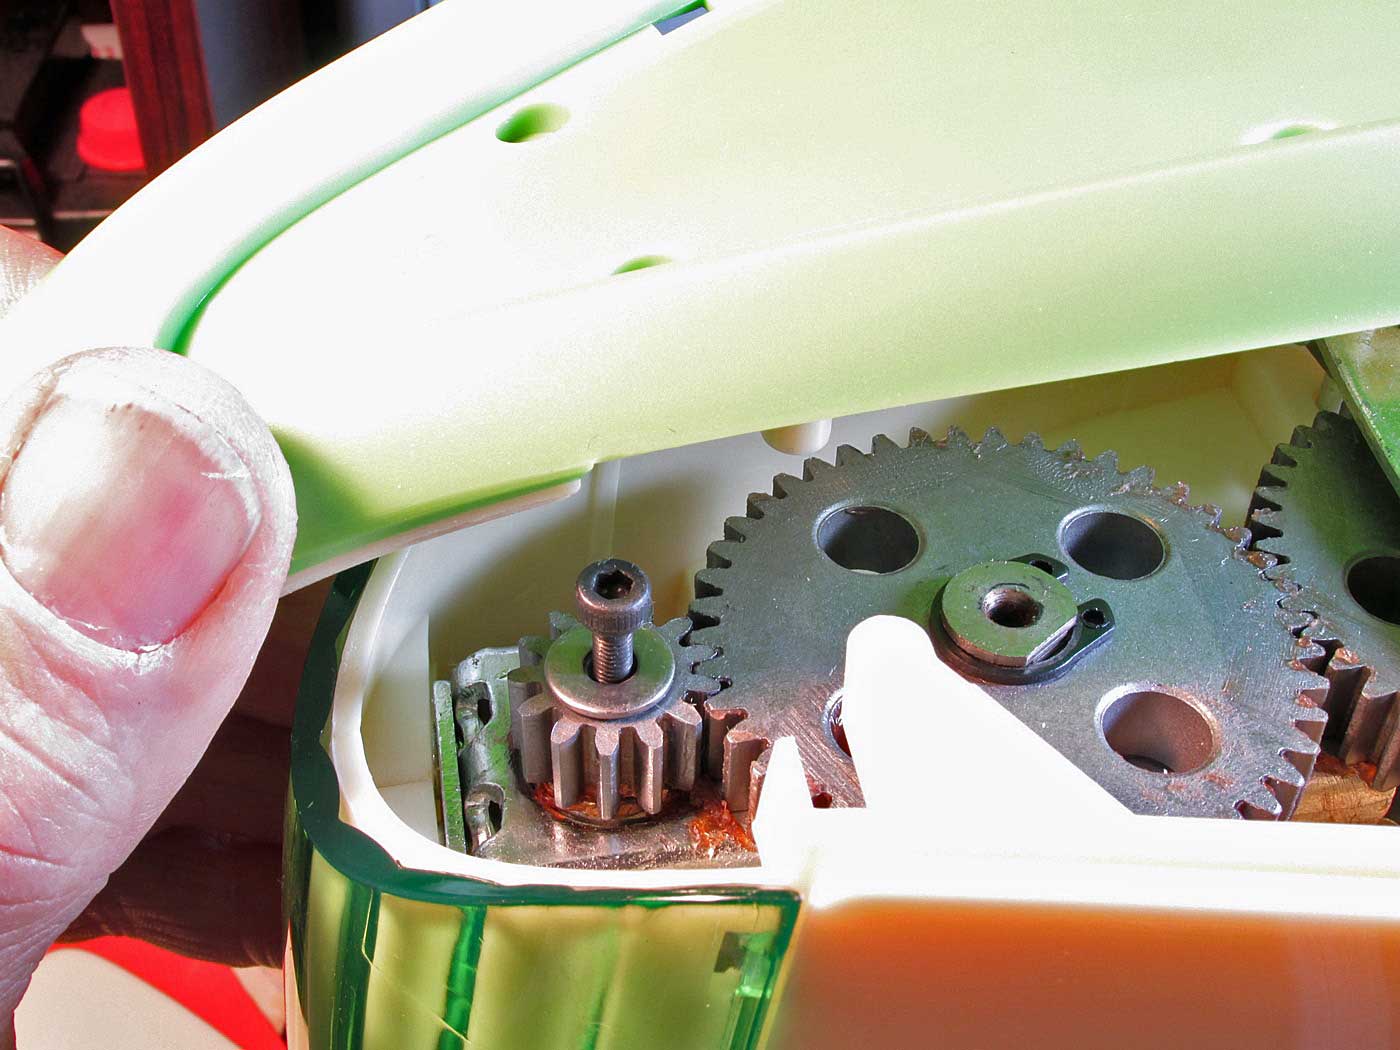
3.) Gently lift the oblong/egg shaped side slightly and gently push to one side to expose the gears.
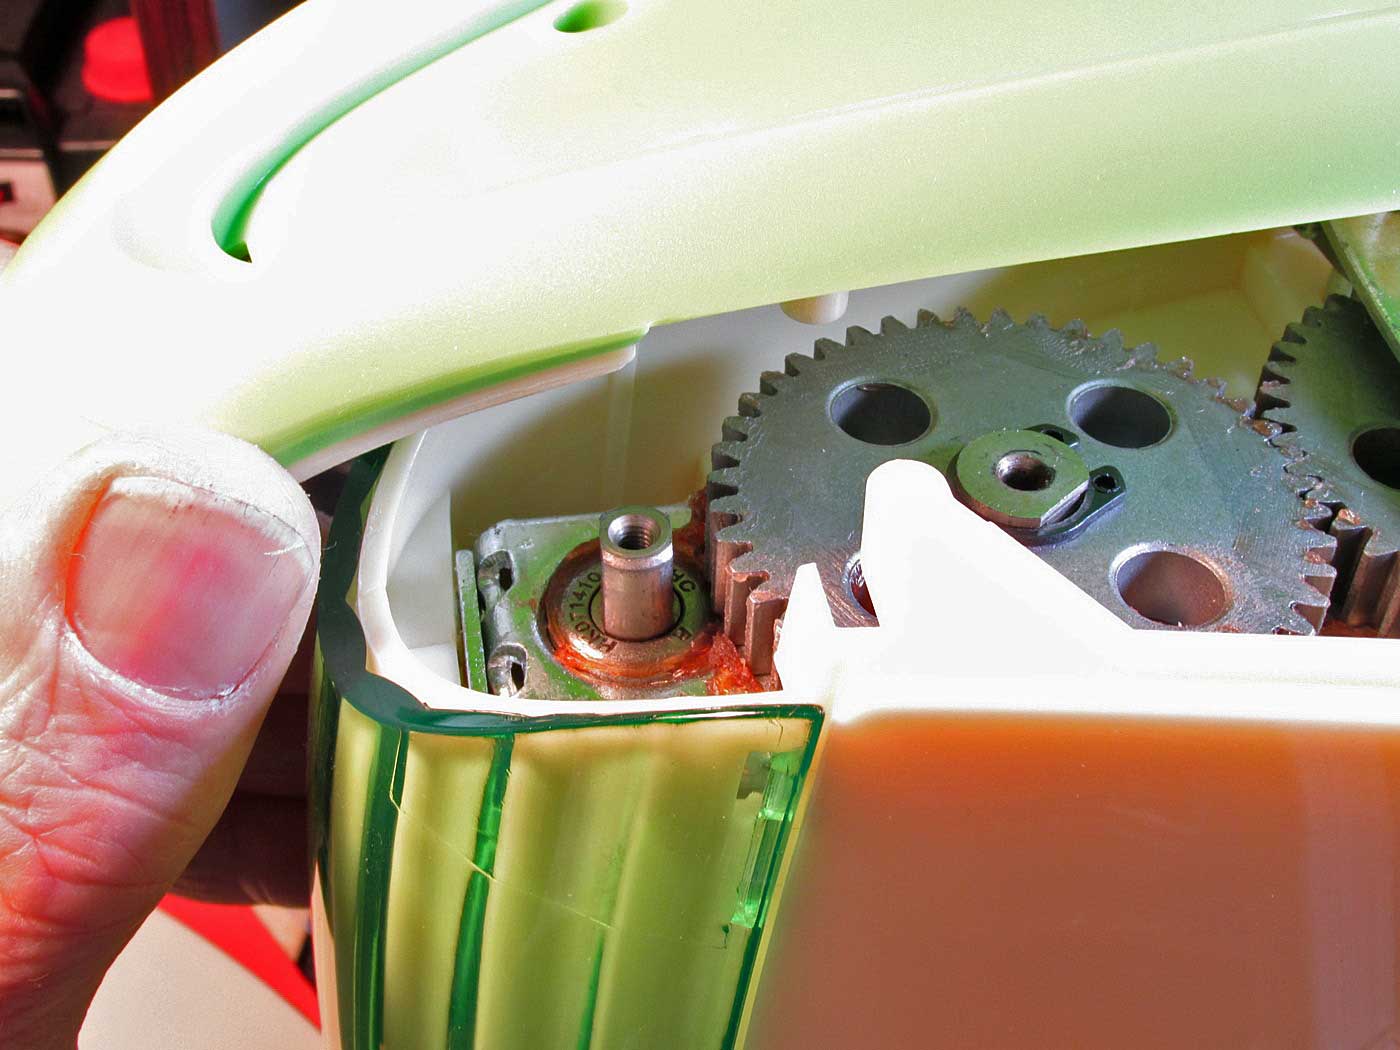
4.) Slip on the gear and washer that fell out and replace the screw. You’ll need an Allen wrench.
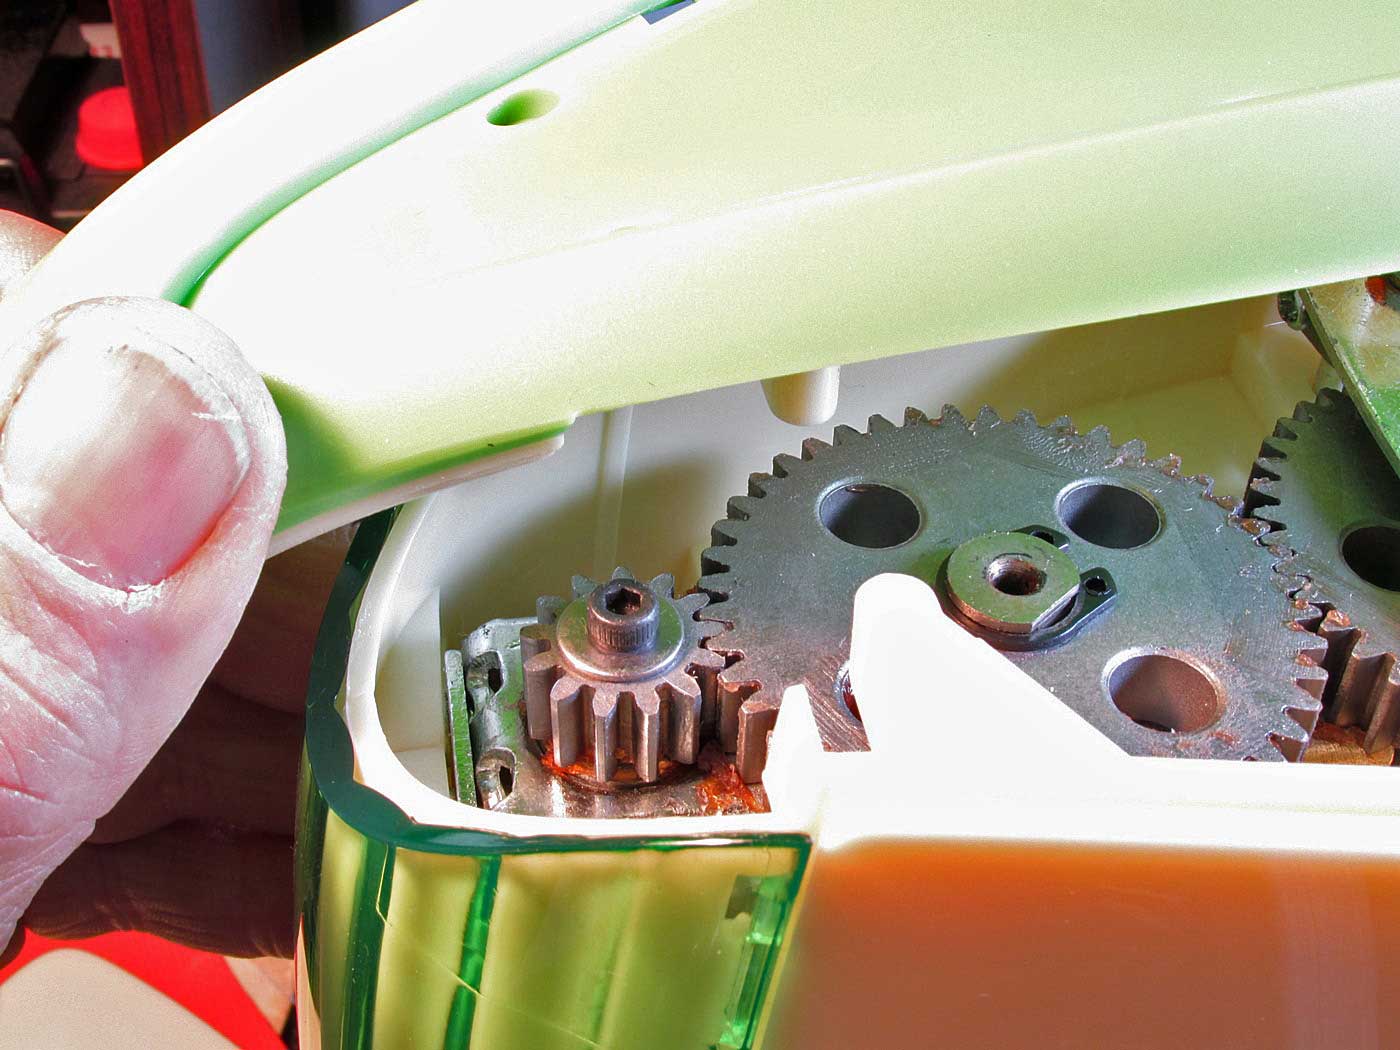
5.) Here’s the gear replaced with screw tightened.
6.) put back together in reverse of the above, 6 screws and careful snapping the side panel back on, start with the top (small end) and work your way down.
Thanks so much for these instructions. So easy to follow and they worked. I was devastated when my Cuttlebug broke today with the screw and washer falling out of the bottom. I’ve had it about 20 months so obviously out of warranty. I had absolutely no idea how to get under the casing or even that it would open up. Thankfully found your instructions and it is now working perfectly.
I am so glad my hushband was able to fix my CB, when he found this tutorial.
Thank you so much for the instructions, which were easy to follow.
Maaike
Thank you for your excellent tutorial! I managed to open my bug up and re-attach the 3 pieces 🙂
Can’t wait to try and fix my CB. Unfortunately, I do not have the screw and gear. Do you know if a gear can be bought someplace?
Thank you, Beth
I have brocken part of the handle on mine can you send me details on where to contact to get a new part for this pls
Cricut .com
Hi dear.My cuttlebug first roller which is the thinner one is jammed n is not moving while the bigger two lower ones are easily operating.what can I do
Not sure I was just showing how to repair the gear in my blog page, I have no more Cuttlebugs to look at for possible solution…