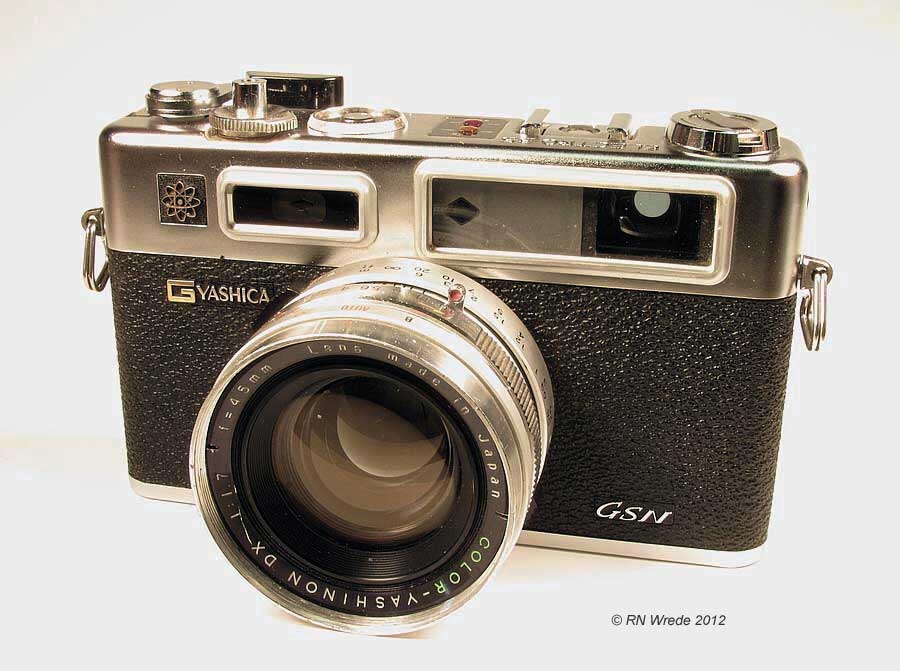
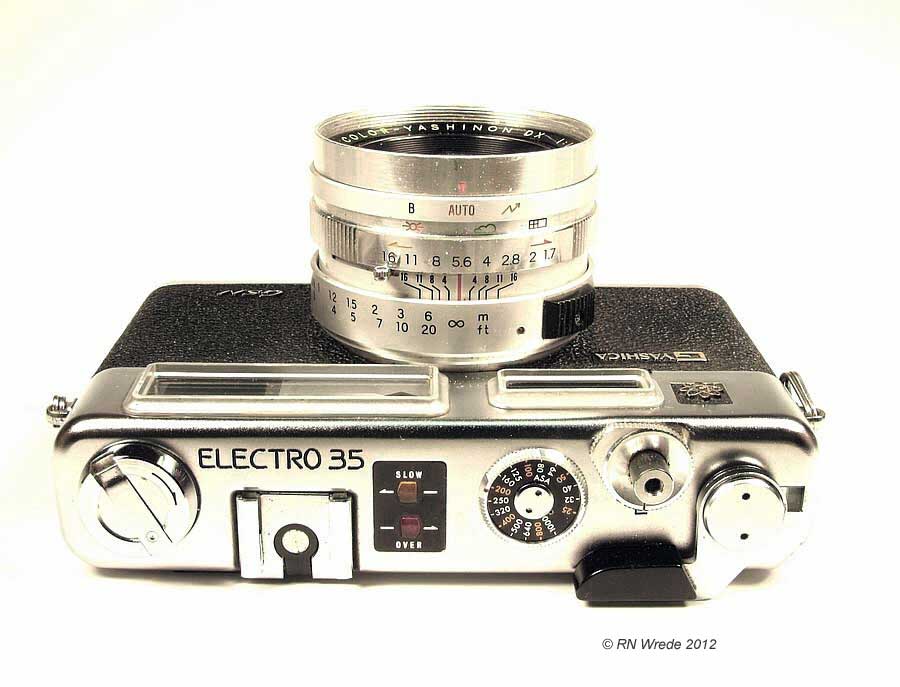
YASHICA ELECTRO 35 GSN
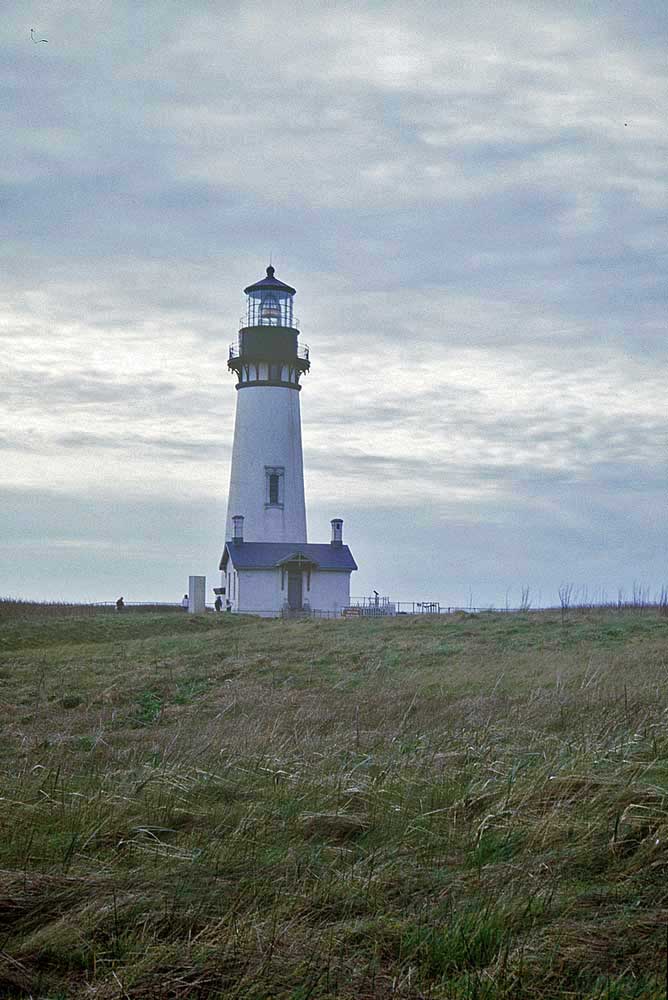
THE CAMERA: This was the first camera I've bought recently after reading up and getting hooked on vintage rangefinders. It was made in 1973 following the Electro 35 in 1966, the 35 G in 1968, and the 35 GS in 1970. I already knew it was a great camera as we had one in high school yearbook and newspaper class for the kids that didn't have their own camera and I had read about it's quality. But that was 35 years ago, recently reading about it I learned everybody that used it LOVED the quality of the images because of the huge 1.7 lens and the Auto exposure system that seemed almost magical. So I needed one. It took a while to get one on eBay that wasn't marked "Parts only" and was affordable. Many are going for $80-130 if stated "everything works, meter and shutter works as it should" I had to settle for "shutter fires not sure about meter, no battery to test ". Luckily the GSN has a default 1/500 shutter speed if the battery dies or is missing. The battery it takes originally was an obsolete PX32 5.6 Mercury, but it will accept 6v 28A or 4LR44 alkaline with an adaptor. The metering system (aperture priority) has a "under-over" system in which a yellow arrow means open the aperture more (or use a tripod) and a red arrow meaning close the aperture, (too much light) After getting an adaptor and battery I discovered what a lot of people discover with their nearly 40 year old camera, the metering system goes to a yellow arrow and the shutter stays open for 4-15 seconds or until you crank the film advance. More on that in Fixes below. I could have settled for the default 1/500 shutter speed but that would eliminate many shooting scenarios. Plus I am a tinkerer at heart, I just can't let things be. FIXES: I did some searching on the internet, GSN meter, GSN shutter not working... etc. I found some Forums and web sites that helped immensely. Why? because there seems to be a cult following for this little camera. Working on it was addicting. see links below. Battery: I got a 628 battery at radio shack, wrapped it in electrical tape to increase it's size (diameter, to center it) and got a spring at the hardware store. (see Matt's link below) but it had no battery test light. I took off the bottom cap and there was no corrosion there and the spring down inside looked fairly clean so I took the top off and inspected the bottom of the battery case from there. The wire at that end was corroded and broken off. It is almost impossible to reach in with a soldering rod so I took the battery case out from the bottom and soldered a fresh longer wire to it, put the battery case back in and soldered the other end. Viola, power, battery test light worked. but the meter gave me the yellow arrow and shutter open for ever syndrome. POD: Next I tackled the metering/shutter problem. There is this little thing called the POD or "pad of death" it is a rubber pad about 4mm x 5mm x 2 mm thick that is attached to the shutter rods. There are two shutter rods, one goes up through the top of the camera, this is what you press. It pushes a second rod (with POD between the point of contact) that actually releases the shutter and moves the electrical contacts for the metering system across a plate. Every article I read said it has to be 2mm exactly or the "yellow arrow syndrome" doesn't go away. I'm going out on a limb here and argue the fact that, after seeing the shutter rods and the electrical contacts in action, that a 1.8 or 1.9 mm POD thickness works better. (that's just the thickness of one of the lines on your ruler) I used a neoprene black washer from the hardware store. When you advance the film lever, one rod is released and with the help of a spring is pushed up against the POD and gives a "thump" ready for the next shot. So when you press the shutter release, the POD pushes against the second rod. Upon observation, a 2mm POD sets the contacts just too low on the contact board. They look like 5 gold plated fingers contacting a flat board with 5 gold plated runs. There are breaks in some of the board runs at different levels (of travel, sliding down the runs) At the uppermost level, where the fingers rest, (after advancing the film advance lever and the shutter rod pops up), with a 2mm POD the left most finger is just on one of those breaks, effectively touching two contacts (on either side of the break) With a 1.8mm POD the finger waits just above this break. There are instructions with pictures on how to tear apart the camera to fix this but a warning. It's not as tough as they said it was, especially putting the lens plate back on, not that bad so don't let it scare you. The biggest worry is not tweaking all the wires. I removed the brown wire attached to the flash socket on the top cap to make it easier. The "Yashica Guy's" instructions are great but his section about "screws A, B, C, E" weren't correct for my model/age of camera, I almost tore apart the counter mechanism for nothing but the rest is good. Just remove the one screw like Mick Feuerbachers page shows and you'll be good, his screw removal was more like mine (click his "Reordering of the site - camera repair etc. now in "articles" section" link, (upper right brown box), then click "Camera repair articles" then click "Pad replacement in Electro 35" (his site is in frames so a direct link is not possible) After getting it all put back together follow Monopix' instructions on how to adjust the shutter rods on the bottom of the camera. Also the Classic Camera Repair Forum was a big help as was Matt Denton's pages. Light Seals: When you have the top cap off, you'll notice two rotten black foam areas, One, a ring above the rewind crank rod. That's a dust cover for the viewfinder. Cut a piece of black felt about the size of a nickel then use a hole punch for the hole, then slip it over the rewind crank rod. The other is a small piece that goes near the red and yellow arrows to keep their light from getting into the rangefinder mirror area. I also had to re-do the light seals on the back film door. I learned from Matt's page that simple black felt on the door back near the hinge and latch area and some black yarn shoved in the grooves works great. First scrape the old rotten gooey foam or what's left of it from the camera back/sides near hinge and latch area careful not to get any residue into the camera. Also from the door edges. I use WD-40 sprayed onto a paper towel to do final cleanup of sticky residue. Scrape out the grooves with a dental pick along the top and bottom of opening, being careful of the film counter reset lever in upper groove. Matt suggested leaving the sticky residue after cleaning out the grooves to help the yarn stay in place, that worked killer. Thanks Matt here is a test roll photo MANUAL: Yashica Electro 35 GSN owners manual
[Camera Home] [SLRs] [Rangefinders] [Viewfinders] [TLR] [Meters] [Gallery] this site owned and maintained by R.Wrede,© all rights reserved. |